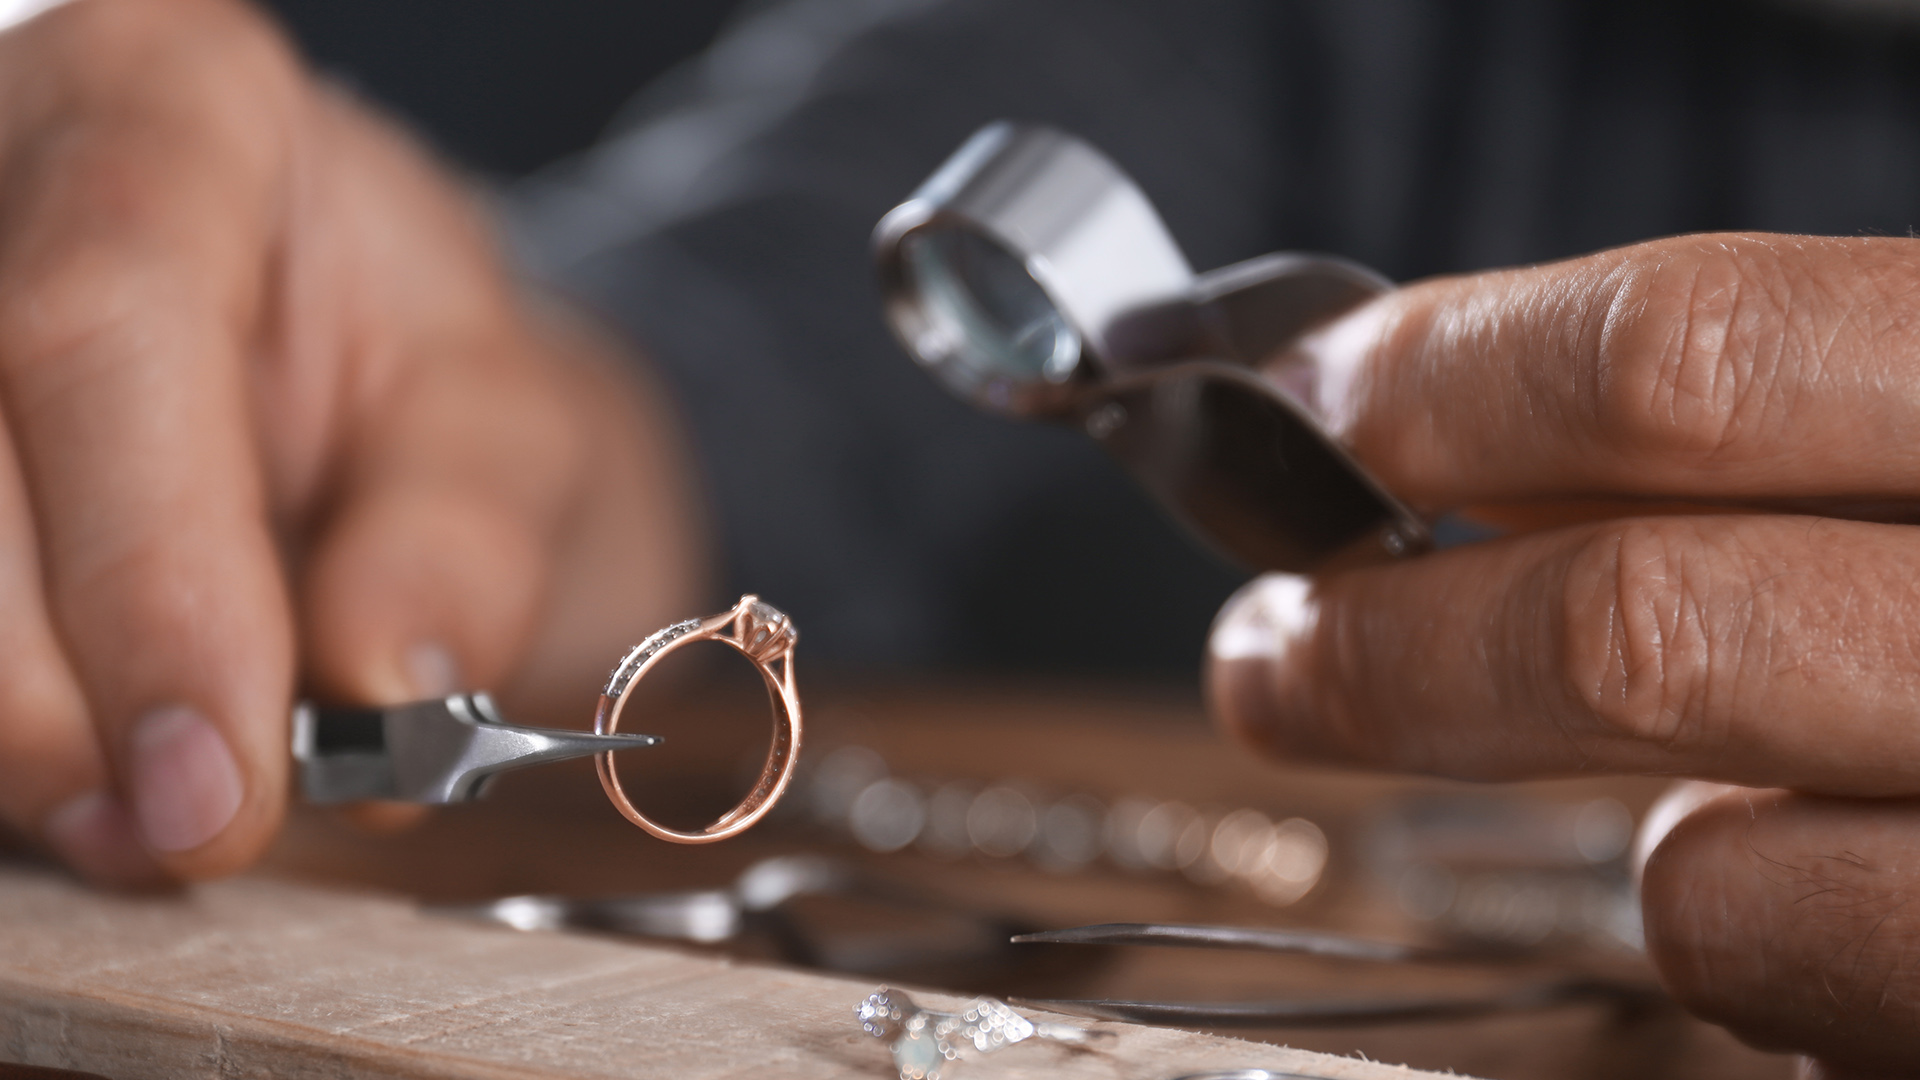
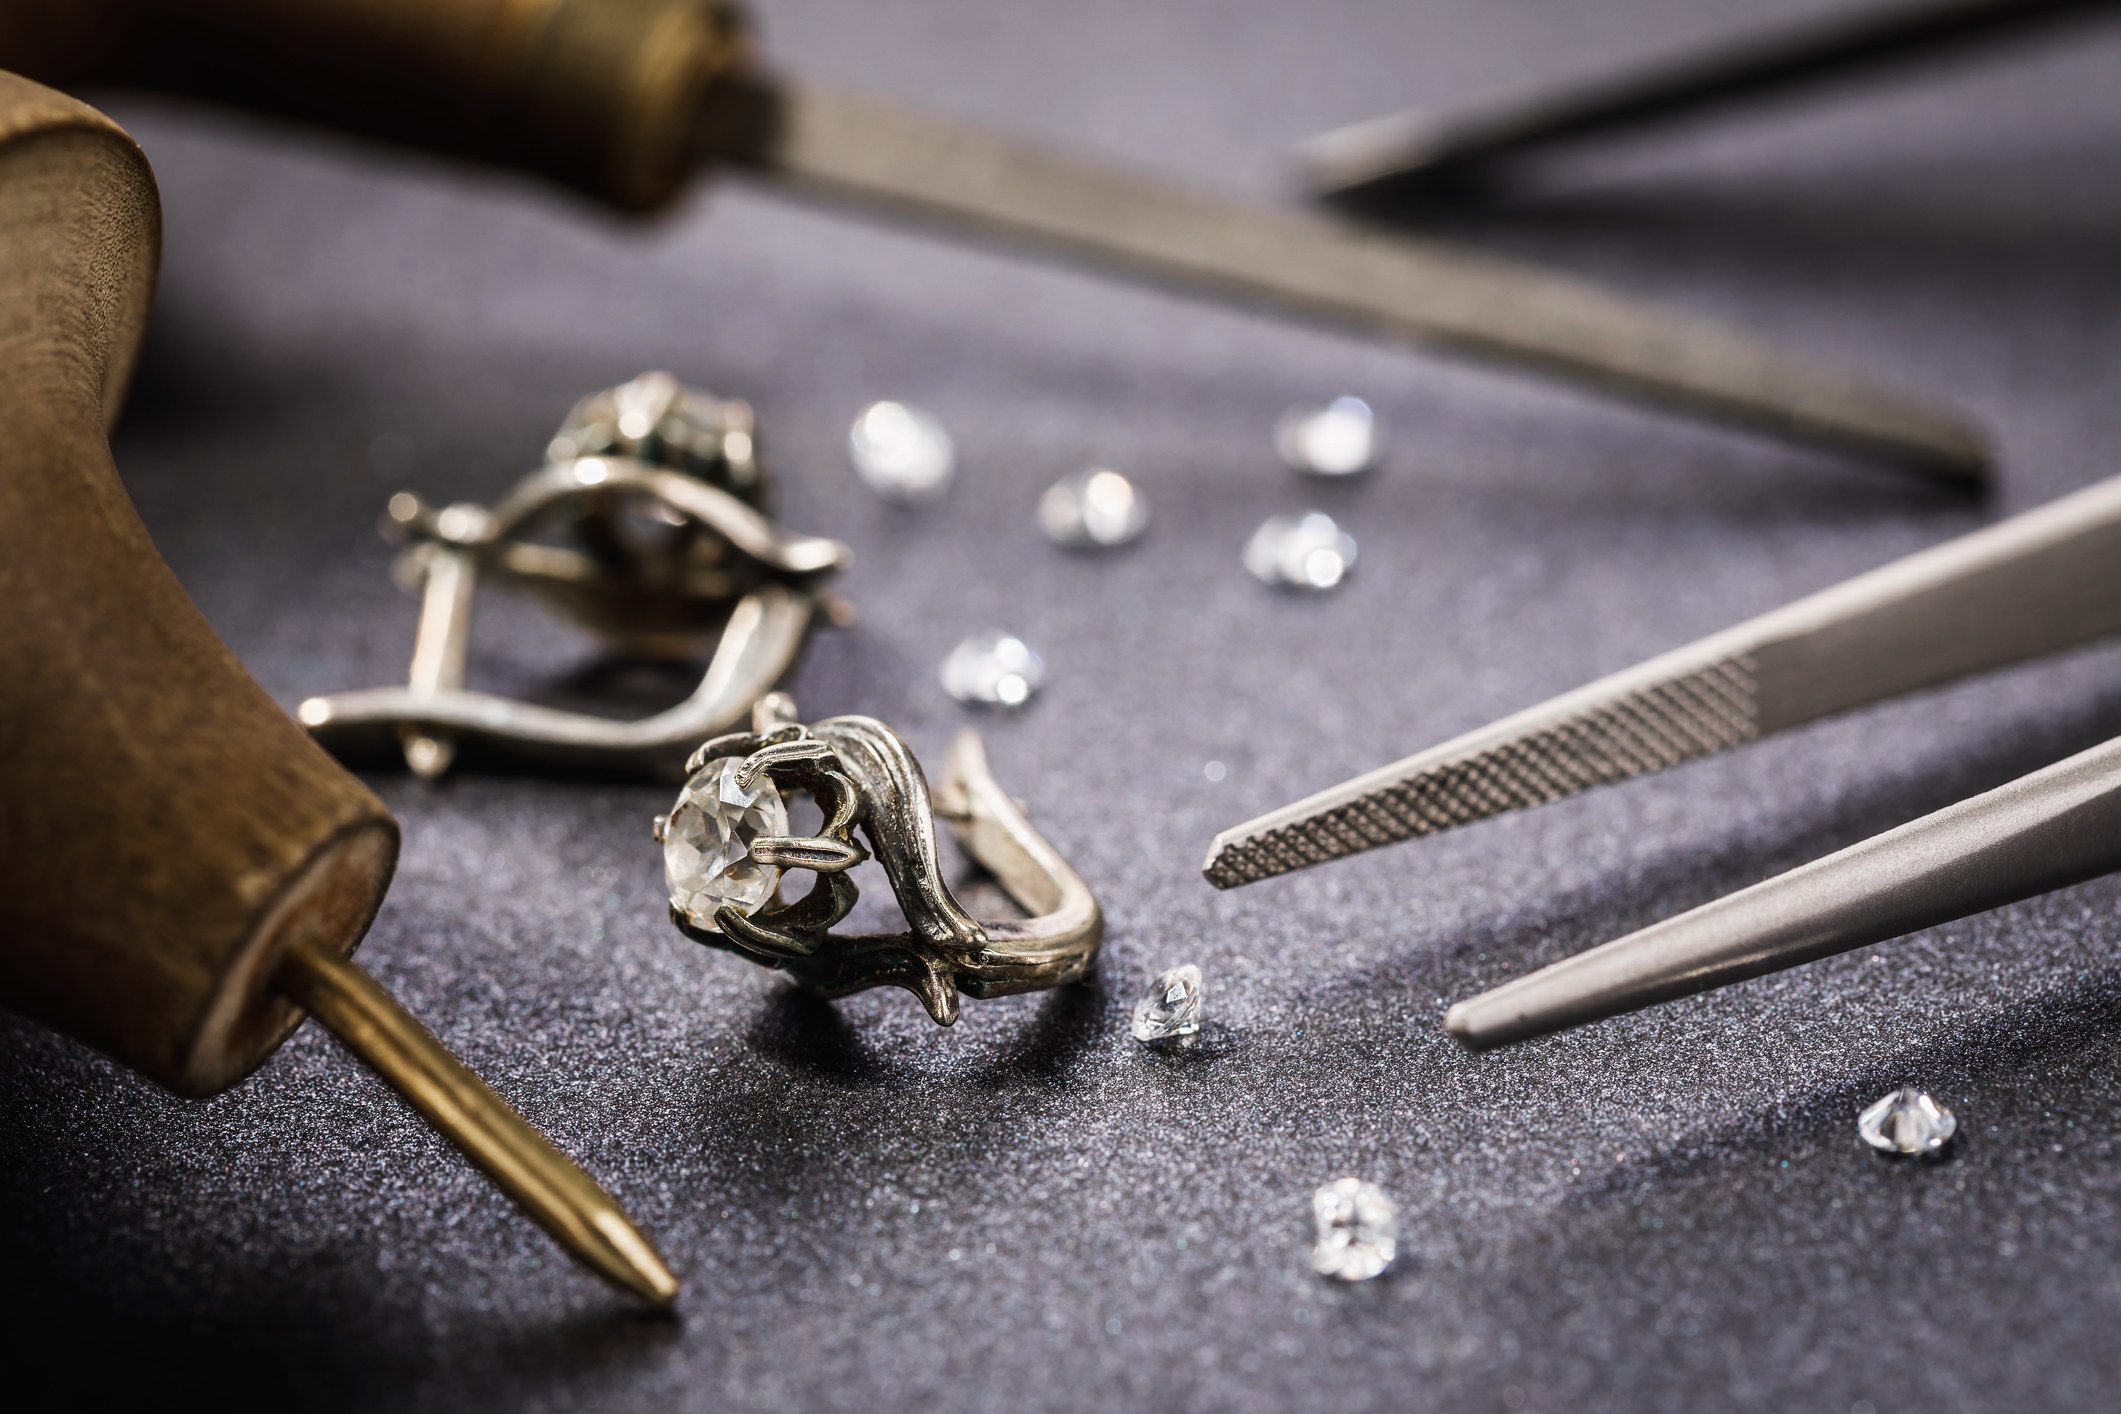
How to repair jewelry? It’s a question that pops up when your favorite necklace breaks, your earrings lose their backs, or your ring gets a scratch. Whether you’re a DIY enthusiast or simply want to save money on professional repairs, learning the basics of jewelry repair can be a rewarding skill.
From fixing a broken clasp to polishing scratches, this guide will equip you with the knowledge and techniques to breathe new life into your cherished pieces.
We’ll explore different types of jewelry damage, provide step-by-step instructions for common repairs, and delve into advanced techniques for more intricate fixes. We’ll also discuss safety precautions and the importance of seeking professional help when necessary. So, grab your tools, put on your safety glasses, and let’s embark on this journey of jewelry restoration.
Basic Repair Techniques

The world of jewelry repair can seem daunting, but with the right tools and a little know-how, you can tackle many common fixes yourself. From replacing a lost earring back to mending a broken clasp, these basic techniques will equip you to keep your treasured pieces in pristine condition.
Fixing a Broken Clasp
A broken clasp can render your favorite necklace or bracelet unusable. Thankfully, replacing it is a straightforward process.
- Gather your tools: You’ll need a pair of pliers, a new clasp that matches the size and style of the original, and a small screwdriver if the clasp requires screws.
- Remove the broken clasp: Using pliers, carefully remove the broken clasp from the jewelry piece. Be cautious not to damage the chain or bracelet.
- Attach the new clasp: If the new clasp has a jump ring, use the pliers to open the ring, attach the clasp to the jewelry, and then close the jump ring securely. If the clasp requires screws, use the screwdriver to fasten it to the jewelry piece.
- Test the clasp: After attaching the new clasp, test its functionality by opening and closing it several times to ensure it’s secure.
Replacing a Lost Earring Back
Losing an earring back is a common occurrence, but it doesn’t have to mean the end of your favorite earrings. Replacing the back is a simple fix that can be done in minutes.
- Select a replacement earring back: Choose a back that matches the size and style of the original. Many earring backs are available at jewelry stores or online retailers.
- Insert the new back: Carefully insert the new earring back into the earring post. Ensure it’s securely in place and that the earring sits comfortably in your ear.
Polishing Scratches on Silver Jewelry
Silver jewelry is prone to scratches, but with a little polishing, you can restore its shine.
- Gather your supplies: You’ll need a polishing cloth specifically designed for silver jewelry. Avoid using abrasive cloths or cleaning solutions, as these can damage the silver.
- Clean the jewelry: Before polishing, gently clean the jewelry with a mild soap and water solution. Rinse thoroughly and dry completely.
- Polish the scratches: Using circular motions, rub the polishing cloth over the scratched areas. Apply gentle pressure and continue polishing until the scratches are less visible.
Advanced Repair Techniques
Advanced jewelry repair techniques require a higher level of skill and precision. These techniques often involve using specialized tools and materials, and a thorough understanding of metalworking and gemstone setting.
Soldering Broken Jewelry Pieces
Soldering is a process that uses heat to melt a filler metal, called solder, to join two pieces of metal together. This technique is essential for repairing broken jewelry pieces, such as chains, rings, and earrings.
Tools and Materials for Soldering
A soldering iron is the primary tool used for this technique. The soldering iron is used to melt the solder, which is a metal alloy with a lower melting point than the jewelry pieces being joined. Flux is a chemical paste or liquid that is applied to the jewelry pieces before soldering.
Flux helps to remove oxides from the metal surfaces, allowing the solder to flow smoothly and create a strong bond.
- Soldering Iron: This tool heats the solder to its melting point, allowing it to flow and join the pieces together.
- Solder: A metal alloy with a lower melting point than the jewelry pieces being joined. The solder should be compatible with the type of metal being repaired.
- Flux: A chemical paste or liquid that cleanses the metal surfaces, enabling the solder to flow freely and create a strong bond.
- Safety Glasses: Protect your eyes from flying particles and harmful fumes during the soldering process.
- Heat-Resistant Gloves: Protect your hands from burns when handling hot materials.
- Work Surface: A heat-resistant surface is essential for soldering, such as a workbench or a ceramic tile.
Soldering Technique
The soldering process begins by cleaning the jewelry pieces to be joined. The pieces are then placed together in the desired position. Flux is applied to the areas where the solder will be placed. The soldering iron is then used to heat the solder until it melts and flows into the joint.
Once the solder has cooled, the joint is inspected for any imperfections.
Setting Loose Stones
Loose stones in jewelry can be a common problem, and setting them securely requires specialized tools and techniques.
Tools and Materials for Setting Stones
A setting tool is used to secure the stone in its setting. The tool is used to apply pressure to the metal around the stone, creating a tight fit. Adhesive is used to further secure the stone in its setting.
This adhesive is specifically designed for use with jewelry and will not damage the stone or the metal.
- Setting Tool: A specialized tool with a variety of tips for different stone settings. The tool applies pressure to the metal around the stone, creating a secure fit.
- Adhesive: A specialized adhesive designed for use with jewelry. The adhesive is applied to the stone and the setting, creating a strong bond.
- Magnifying Glass: Helps to see the details of the stone setting and ensures the stone is securely set.
- Tweezers: Used to handle the stone during the setting process.
- Cleaning Solution: Used to clean the stone and the setting before and after the setting process.
Setting Technique
The first step is to clean the stone and the setting. The stone is then placed in the setting, and the setting tool is used to apply pressure to the metal around the stone. The adhesive is then applied to the stone and the setting, creating a strong bond.
The setting is inspected to ensure that the stone is securely set.
Safety Precautions: How To Repair Jewelry

Jewelry repair can be a rewarding hobby or profession, but it’s essential to prioritize safety. Working with sharp tools, heat, and chemicals can pose risks if proper precautions aren’t taken. This section will guide you through crucial safety practices to ensure a safe and enjoyable experience.
Handling Sharp Tools
Using sharp tools is a fundamental aspect of jewelry repair. It’s crucial to handle them with care to prevent injuries.
- Always use a cutting mat or a firm, stable surface when working with sharp tools. This will provide a safe and controlled environment for your work.
- Keep your fingers away from the cutting edge of tools. Focus on the task at hand and avoid distractions that could lead to accidents.
- Store sharp tools in designated containers or toolboxes. This prevents accidental cuts and ensures their proper maintenance.
- Inspect tools regularly for damage. Damaged tools should be repaired or replaced immediately to prevent accidents.
Working with Chemicals
Chemicals play a vital role in jewelry repair, from cleaning to soldering. It’s crucial to use them responsibly to prevent exposure and potential harm.
- Always work in a well-ventilated area. Proper ventilation helps to dissipate fumes and reduces the risk of inhaling harmful chemicals.
- Wear appropriate protective gear, such as gloves and a respirator, when handling chemicals. This barrier protects your skin and respiratory system from exposure.
- Store chemicals in their original containers with clearly labeled safety information. This ensures proper identification and handling.
- Never mix chemicals unless you have specific instructions from a reliable source. Mixing chemicals can create dangerous reactions, leading to harmful fumes or explosions.
- Dispose of chemicals properly according to local regulations. Never pour chemicals down the drain or into the environment. Improper disposal can contaminate water sources and harm wildlife.
Eye Protection, How to repair jewelry
Protecting your eyes from potential hazards is paramount in jewelry repair.
- Wear safety glasses or goggles whenever working with tools or chemicals. This protects your eyes from flying debris, splashes, or harmful fumes.
- Choose safety glasses with side shields to provide comprehensive protection. This ensures that your eyes are protected from all angles.
- Inspect your safety glasses regularly for damage or scratches. Damaged glasses should be replaced immediately to ensure proper protection.
Soldering Safety
Soldering involves melting metals using a torch or soldering iron, which produces intense heat.
- Always wear heat-resistant gloves and a protective apron when soldering. This safeguards your skin from burns and protects your clothing from heat damage.
- Use a soldering station or work in a well-ventilated area. This helps to dissipate fumes and prevent smoke inhalation.
- Never solder near flammable materials or in areas with poor ventilation. This prevents fires and ensures a safe working environment.
- Use a soldering flux to facilitate the flow of solder and prevent oxidation. Flux also helps to reduce fumes and protect the metal from oxidation.
Polishing Safety
Polishing jewelry involves using abrasive materials and tools that can generate dust and particles.
- Wear a dust mask to prevent inhaling dust particles. This protects your respiratory system from potential irritants.
- Use a polishing machine with a dust collection system to minimize dust generation. This helps to create a cleaner and safer working environment.
- Work in a well-ventilated area to allow dust particles to dissipate. This reduces the risk of inhaling dust and minimizes the risk of respiratory problems.
- Clean your work area regularly to remove dust and debris. This ensures a safe and hygienic environment.
Closing Summary

Repairing jewelry can be a fulfilling experience, allowing you to revive treasured pieces and extend their lifespan. With a little knowledge, patience, and the right tools, you can tackle many repairs yourself, saving money and gaining a newfound appreciation for the craftsmanship involved.
Remember to prioritize safety, and don’t hesitate to seek professional help for complex repairs or antique jewelry. By combining DIY techniques with professional expertise, you can ensure your beloved jewelry remains a source of beauty and joy for years to come.
Key Questions Answered
What tools do I need for basic jewelry repair?
For basic repairs, you’ll need pliers, a small screwdriver, a jewelry polishing cloth, and a new clasp or earring back.
Can I repair my own diamond jewelry?
It’s not recommended to attempt repairs on diamond jewelry yourself. Loose diamonds can be easily lost, and setting them requires specialized tools and expertise.
How do I know if a repair is worth it?
Consider the sentimental value and cost of the jewelry. If it’s a cherished piece and the repair cost is reasonable, it’s likely worth it. But if the repair is expensive or the jewelry has little sentimental value, it might be time to let go.
What should I do if my jewelry is damaged beyond repair?
If your jewelry is beyond repair, you can repurpose it into something new, use it for parts, or simply cherish its memory.