How to adjust dirt bike carb? It’s a question that every dirt bike enthusiast has asked at some point. Getting the right fuel-air mixture is crucial for optimal performance, and adjusting the carburetor can make a huge difference in how your bike runs. Whether you’re experiencing bogging, surging, or just want to fine-tune your engine, this guide will walk you through the process, step by step.
First, you’ll need to understand the basics of how a carburetor works. This involves familiarizing yourself with the main components, like the main jet, pilot jet, needle, and air screw, and their roles in delivering fuel to the engine. Then, we’ll dive into identifying common carb adjustment issues, like how to tell if your carb is the source of the problem and how to diagnose specific issues like bogging or surging.
Once you’ve pinpointed the issue, we’ll explore how to adjust the main jet, pilot jet, needle, and air screw for optimal performance.
Understanding the Dirt Bike Carb
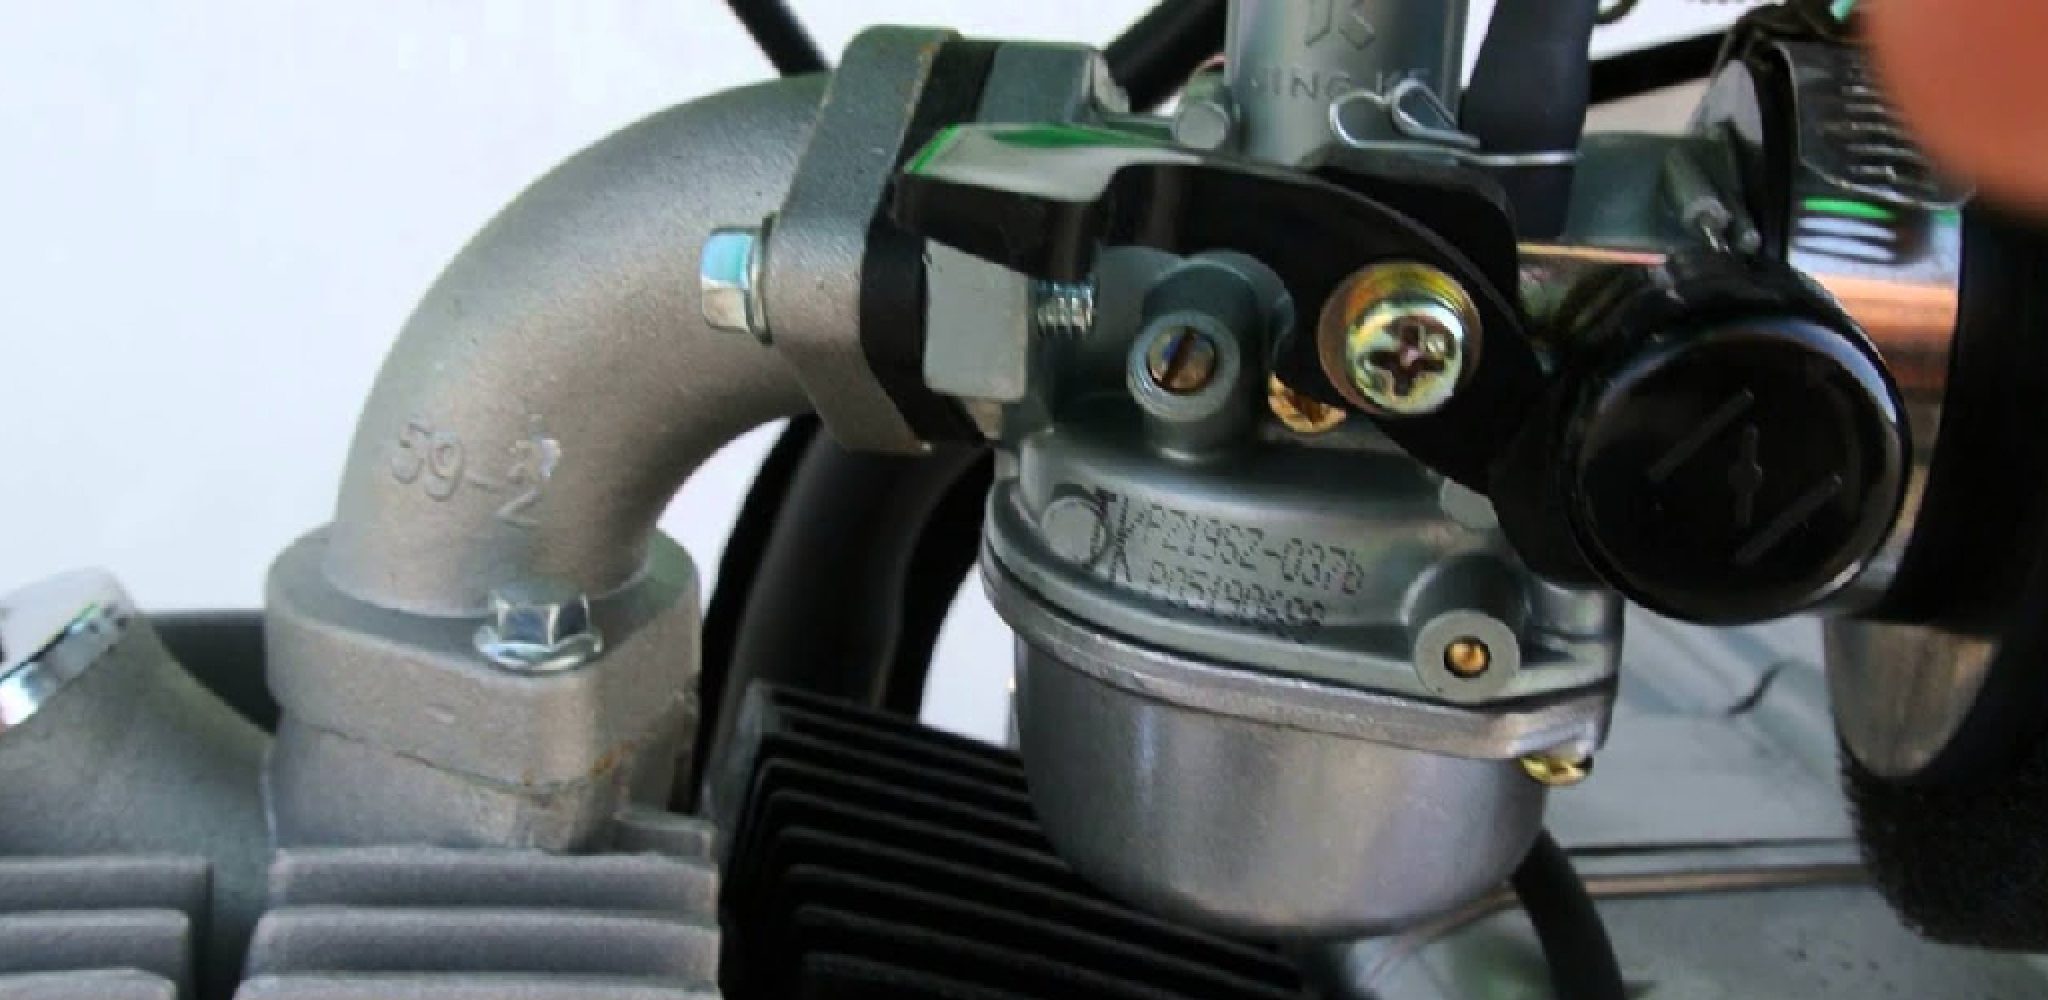
The heart of a dirt bike’s fuel system, the carburetor, plays a vital role in delivering a precise mixture of fuel and air to the engine. This mixture, known as the air-fuel ratio, is crucial for optimal engine performance, power, and efficiency. To fine-tune this delicate balance, understanding the components and workings of a carburetor is essential.
Carb Components and Their Functions
The carburetor comprises several key components that work in harmony to deliver fuel to the engine. These components include:
- Air Filter: This component prevents dust and debris from entering the carburetor, safeguarding the engine from damage.
- Airbox: This sealed chamber houses the air filter and helps regulate airflow to the carburetor.
- Throttle Valve: This valve controls the amount of air entering the carburetor. When the throttle is opened, more air enters the carburetor, leading to increased engine speed.
- Venturi: This constricted passageway creates a low-pressure area that draws fuel from the float bowl.
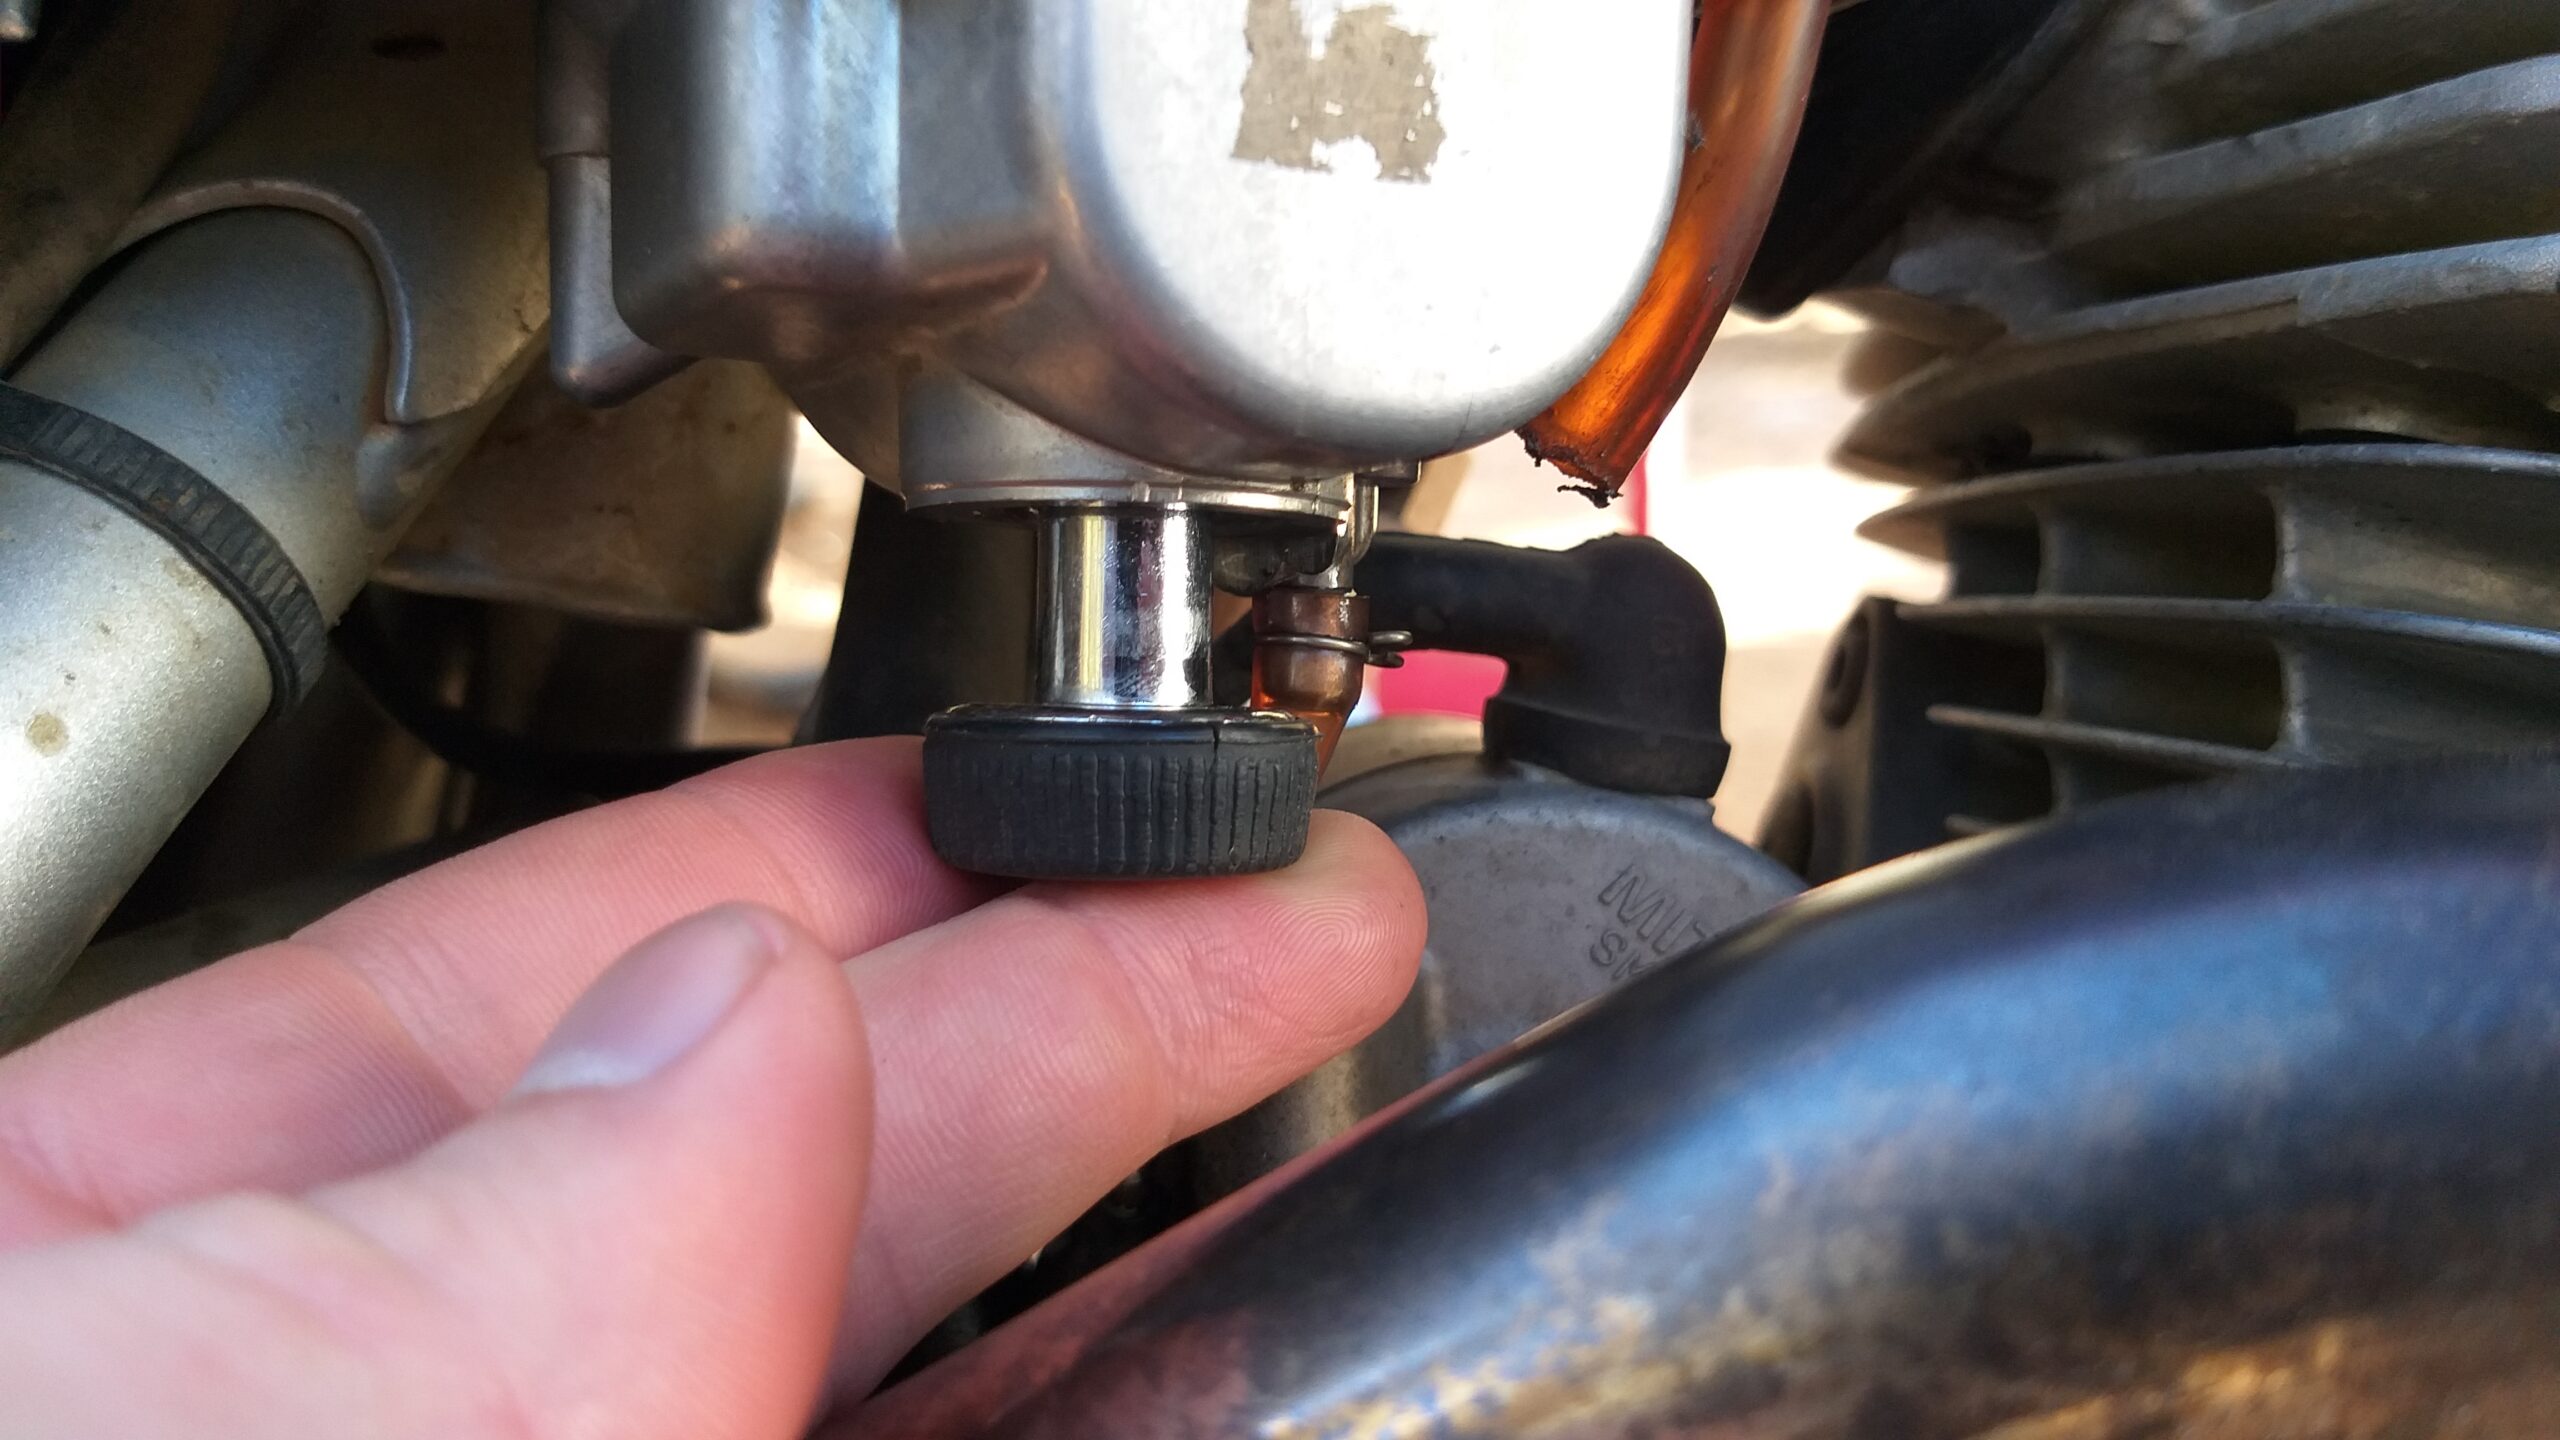
- Float Bowl: This chamber contains a float that regulates the fuel level. When the fuel level drops, the float falls, opening a valve to allow more fuel into the bowl.
- Main Jet: This small orifice controls the amount of fuel flowing into the carburetor at higher engine speeds.
- Pilot Jet: This jet regulates the fuel flow at lower engine speeds and during idle.
- Needle Jet: This component controls the fuel flow at mid-range engine speeds.
- Emulsion Tube: This tube mixes the fuel and air, creating a homogenous mixture before it enters the engine.
- Choke: This device enriches the air-fuel mixture during cold starts, helping the engine ignite more easily.
Carb Function in Fuel Delivery
The carburetor’s primary function is to deliver a precisely measured mixture of fuel and air to the engine. This process involves several steps:
- Air Intake: Air enters the carburetor through the air filter and airbox.
- Venturi Effect: As air flows through the venturi, the velocity increases, creating a low-pressure area.
- Fuel Draw: The low pressure in the venturi draws fuel from the float bowl through the main jet, pilot jet, and needle jet.
- Mixing: The fuel and air mix in the emulsion tube, creating a homogenous mixture.
- Delivery: The air-fuel mixture is delivered to the engine through the intake manifold.
Types of Carburetors
Dirt bikes commonly use two main types of carburetors:
- Slide Carburetors: These carburetors use a sliding valve to control the amount of air entering the venturi. The slide is connected to the throttle cable, allowing for smooth throttle response.
- Diaphragm Carburetors: These carburetors utilize a diaphragm to regulate air flow. The diaphragm is connected to the throttle cable, and its movement controls the amount of air entering the venturi.
Identifying Carb Adjustment Issues
A misadjusted carburetor can cause a variety of performance issues on your dirt bike. It is essential to identify these issues and address them through proper carb adjustment.
Understanding the common symptoms of a misadjusted carburetor is crucial for diagnosing and resolving performance problems. Once you can recognize the signs, you can then focus your attention on the carburetor as the potential culprit.
Identifying Carb Adjustment Issues
Recognizing the signs of a misadjusted carburetor is the first step in troubleshooting your dirt bike’s performance issues. Here are some common symptoms to look out for:
- Difficulty starting: A carburetor that is too lean can make it difficult to start the engine. This is because a lean mixture lacks the fuel needed for combustion.
- Stalling: Similar to difficulty starting, a lean mixture can cause the engine to stall, especially at idle. This is because the engine is not receiving enough fuel to maintain combustion.
- Bogging down: When the engine bogs down under acceleration, it may be a sign of a lean mixture, especially at higher RPMs. The engine is not receiving enough fuel to keep up with the increased demand.
- Surging: An overly rich mixture can cause the engine to surge or hesitate, especially at lower RPMs. This is because the engine is receiving too much fuel, leading to uneven combustion.
- Backfiring: Backfiring can occur due to a lean mixture, especially when decelerating. The lean mixture causes unburned fuel to ignite in the exhaust system.
- Poor throttle response: A misadjusted carburetor can cause sluggish throttle response. This is because the engine is not receiving the correct amount of fuel and air mixture for optimal performance.
- Excessive smoke: Black smoke from the exhaust can indicate a rich mixture, meaning the engine is burning too much fuel. This is because the carburetor is delivering too much fuel to the engine.
- Rough idle: An erratic idle can be caused by a lean or rich mixture. The engine is not receiving the correct fuel-air ratio to maintain a stable idle.
Adjusting the Pilot Jet

The pilot jet is responsible for delivering fuel at idle and low throttle settings. It plays a crucial role in achieving a smooth idle and ensuring consistent throttle response. Adjusting the pilot jet can significantly impact your dirt bike’s performance at low RPMs.
Understanding Pilot Jet Adjustment
The pilot jet’s primary function is to provide a precise fuel-air mixture at idle. A correctly adjusted pilot jet ensures that the engine runs smoothly without stalling and responds quickly when you twist the throttle. Adjusting the pilot jet involves changing the size of the jet, which controls the amount of fuel flowing through it. A larger jet allows more fuel to flow, while a smaller jet restricts fuel flow.
- Adjusting the Pilot Jet: To adjust the pilot jet, you will need a set of pilot jets in various sizes and a screwdriver. The pilot jet is typically located within the carburetor’s bowl. Consult your owner’s manual or a service manual for the specific location and adjustment procedure for your dirt bike model.
- Determining the Correct Pilot Jet Size: The ideal pilot jet size depends on various factors, including engine size, altitude, and air temperature. Start with the recommended jet size specified in your owner’s manual. If your bike exhibits idle issues, you can experiment with different pilot jet sizes to fine-tune the mixture.
- Troubleshooting Idle Issues: If your dirt bike has an inconsistent idle or stalls easily, it’s likely a sign of an incorrectly adjusted pilot jet. Here are some common idle issues and their potential causes:
If your bike stalls frequently, it’s likely running lean (too little fuel).
- Stalling at Idle: A lean mixture (too little fuel) can cause the engine to stall. To remedy this, try installing a larger pilot jet.
- Rough Idle: A rich mixture (too much fuel) can cause a rough idle. To fix this, install a smaller pilot jet.
- Difficulty Starting: A lean mixture can make it challenging to start the engine, especially when cold. Installing a larger pilot jet can help address this issue.
Adjusting the Needle and Needle Clip

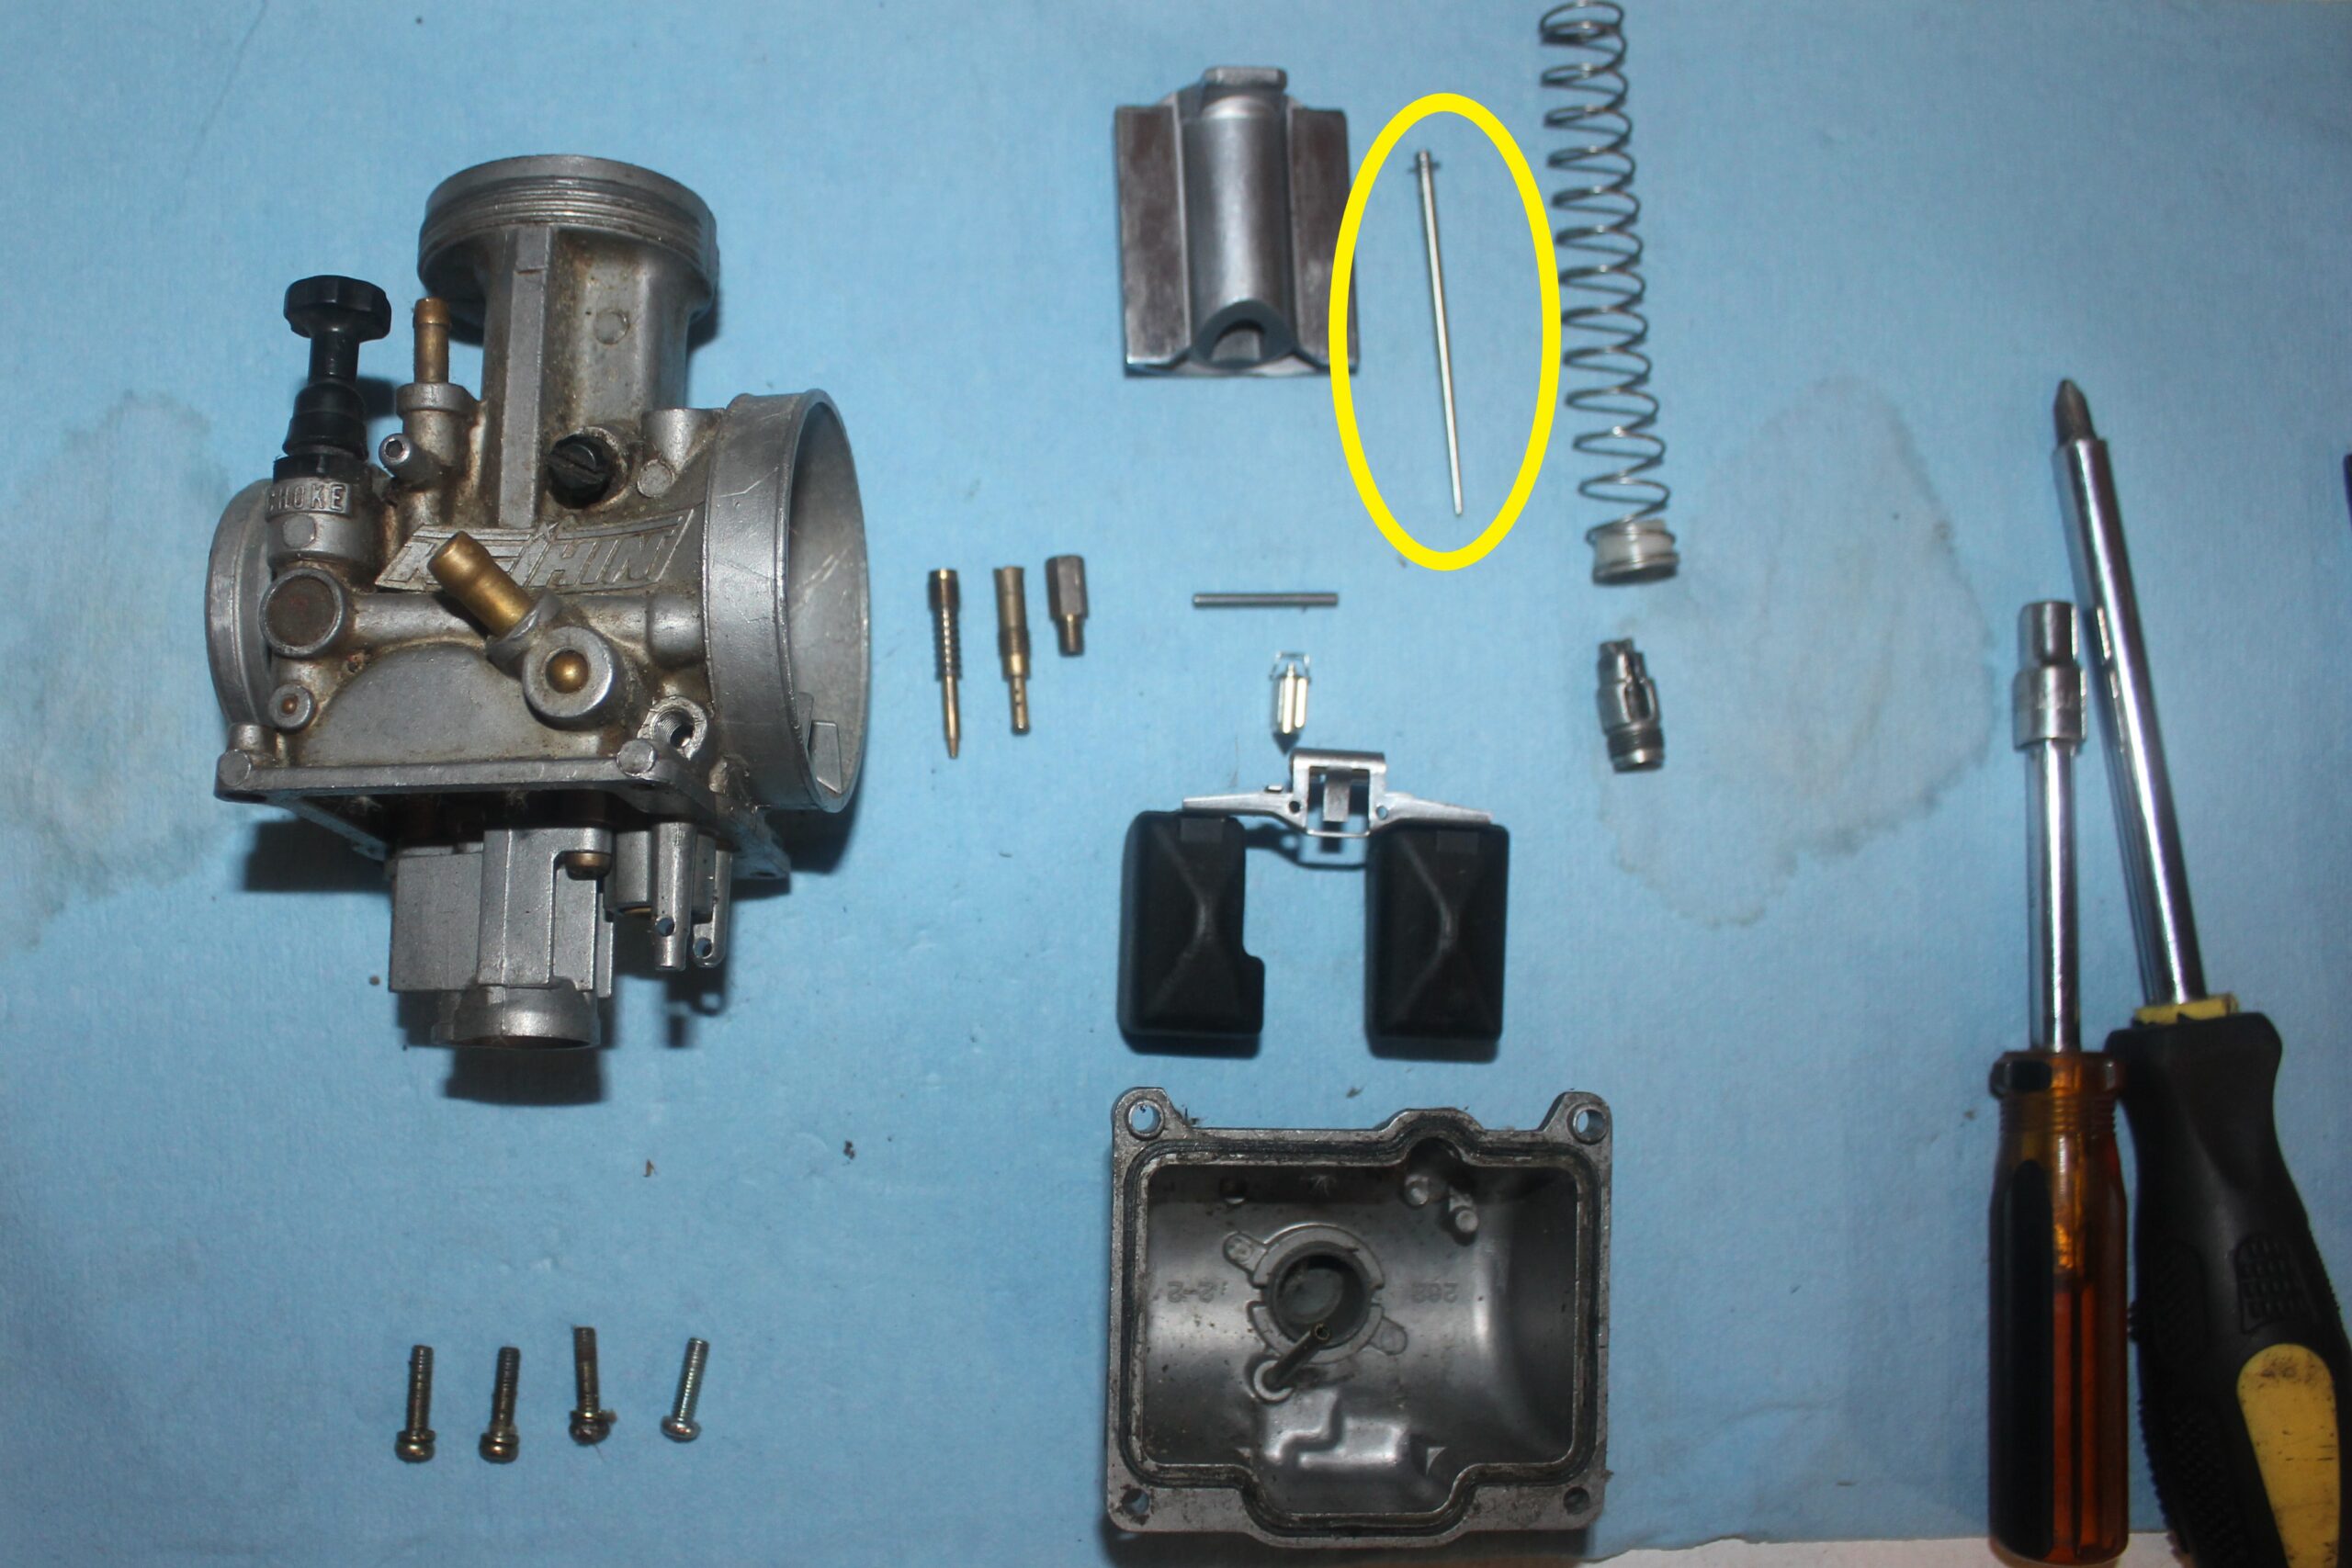
The needle and needle clip play a crucial role in regulating fuel flow through the carburetor, influencing the engine’s performance across the throttle range. The needle, a tapered pin, sits within the carburetor’s jet, controlling the amount of fuel that passes through the main jet. The needle clip, a small metal clip, secures the needle at a specific position on the needle jet.
Adjusting the needle clip’s position alters the needle’s position within the jet, effectively changing the fuel-air mixture at various throttle openings.
Adjusting the Needle Clip Position
Adjusting the needle clip position involves moving the clip up or down the needle jet. Moving the clip up the needle jet raises the needle, restricting fuel flow, while moving it down lowers the needle, allowing more fuel to pass through. The needle clip position influences the fuel-air mixture throughout the throttle range, particularly in the mid-to-high RPMs. Adjusting the needle clip position can fine-tune the engine’s performance and address issues like hesitation, bogging, or lean running.
Adjusting the Needle and Needle Clip
- Locate the needle clip on the needle jet. The needle clip is typically a small metal clip that holds the needle in place. It’s usually located on the side of the carburetor.
- Identify the needle clip position. Count the grooves or notches on the needle jet to determine the clip’s current position. This information is crucial for tracking your adjustments.
- Adjust the needle clip position. To enrich the mixture, move the clip down one groove, allowing more fuel to pass through. To lean out the mixture, move the clip up one groove, restricting fuel flow.
- After each adjustment, test ride the bike to assess the impact on performance. Listen for changes in engine sounds, observe throttle response, and evaluate overall performance.
- Continue adjusting the needle clip position until you achieve the desired performance. It’s common to make small adjustments, test ride, and repeat until the bike runs smoothly.
Carb Synchronization
Carb synchronization is a crucial step in tuning a multi-cylinder dirt bike engine. When carbs are properly synchronized, the engine runs smoothly and efficiently, producing optimal power and fuel economy. This process ensures that each cylinder receives the same amount of fuel and air, leading to a balanced and consistent power delivery.
Checking Carb Synchronization
Checking carb synchronization involves measuring the vacuum pressure in each carburetor’s intake manifold. This measurement is typically performed using a vacuum gauge, which connects to the intake manifold of each cylinder. The vacuum gauge displays the pressure difference in each cylinder, indicating the amount of air being drawn into the engine.Here’s how to check carb synchronization:
- Start the engine and allow it to warm up to operating temperature.
- Connect a vacuum gauge to the intake manifold of each cylinder.
- Observe the readings on the vacuum gauge. Ideally, the readings should be identical or within a small tolerance (usually 1-2 inches of mercury).
Adjusting Carb Synchronization
If the vacuum gauge readings are significantly different, you’ll need to adjust the synchronization of the carburetors. This is usually done by adjusting the throttle cables connected to each carburetor.
- Locate the throttle cable adjustment screws on each carburetor.
- With the engine running, adjust the throttle cables until the vacuum gauge readings are identical or within the acceptable tolerance.
- Tighten the adjustment screws to secure the cables in their new position.
Tips for Achieving Proper Carb Synchronization
- Use a reliable vacuum gauge to ensure accurate readings.
- Adjust the throttle cables in small increments to avoid over-adjusting.
- Listen to the engine sound for any changes as you adjust the cables. A smooth and consistent engine sound indicates proper synchronization.
- If you’re not comfortable adjusting the carbs yourself, it’s best to seek professional help from a qualified mechanic.
Carb Maintenance and Cleaning

Keeping your dirt bike carburetor clean and in good working order is essential for optimal performance and longevity. A dirty carb can lead to a variety of issues, including poor fuel flow, inconsistent engine running, and even engine damage. Regular maintenance and cleaning can prevent these problems and ensure your bike runs smoothly.
Carb Cleaning and Rebuilding, How to adjust dirt bike carb
Cleaning and rebuilding your carburetor is a relatively straightforward process that can be done at home with a few basic tools. It’s important to work in a well-ventilated area and to wear appropriate safety gear, including gloves and eye protection. Here are the steps involved:
- Remove the carburetor from the bike.
- Disassemble the carburetor. This will involve removing the float bowl, jets, and other components. Be careful not to lose any small parts.
- Clean the carburetor parts. You can use a carburetor cleaner spray or a combination of soap and water. Make sure to clean all the jets, passages, and other parts thoroughly. Be sure to use a soft-bristled brush to reach tight spots and remove any stubborn dirt or debris.
- Reassemble the carburetor. Make sure to install all the parts correctly and in the proper order. Use a new gasket if necessary.
- Adjust the carburetor. After reassembly, you’ll need to adjust the carburetor to ensure proper operation. Refer to your bike’s service manual for the correct settings.
- Install the carburetor back onto the bike.
- Start the bike and check for leaks. Make sure the carburetor is securely mounted and that there are no leaks.
Carb Maintenance Tips
Following these tips can help prevent future carb problems and keep your bike running smoothly:
- Use high-quality fuel. Using clean, fresh fuel can help prevent dirt and debris from accumulating in your carburetor.
- Change your fuel filter regularly. A clogged fuel filter can restrict fuel flow and cause problems with your carburetor.
- Store your bike properly. If you’re not going to use your bike for an extended period, it’s important to drain the fuel tank and carburetor. This will prevent the fuel from going bad and causing problems.
- Avoid riding in dusty conditions. Dust can easily get into your carburetor and cause problems. If you do ride in dusty conditions, be sure to clean your carburetor regularly.
Adjusting your dirt bike carb is a rewarding process that can significantly improve your riding experience. By understanding the basics of carb operation, identifying adjustment issues, and following the steps Artikeld in this guide, you can fine-tune your engine for optimal performance and enjoy a smoother, more powerful ride. Remember, patience and practice are key. Don’t be afraid to experiment and find the sweet spot for your bike.
And, always remember to prioritize safety by wearing appropriate gear and taking necessary precautions while working on your bike.
Question Bank: How To Adjust Dirt Bike Carb
What tools do I need to adjust my dirt bike carb?
You’ll need a few basic tools, including a flathead screwdriver, a Phillips head screwdriver, a small wrench, and a carb cleaning kit. It’s also helpful to have a vacuum gauge and a tachometer for precise adjustments.
How often should I clean my dirt bike carb?
It’s recommended to clean your carb every 50-100 hours of riding, or more often if you ride in dusty or muddy conditions. Regular cleaning helps prevent dirt and debris from clogging the jets and affecting performance.
What are some signs that my dirt bike carb needs cleaning?
Signs that your carb needs cleaning include rough idling, bogging, surging, stalling, or difficulty starting. If you notice any of these issues, it’s a good idea to inspect and clean your carb.
Can I adjust my dirt bike carb without a manual?
It’s always best to consult your bike’s owner’s manual for specific instructions on adjusting your carb. However, this guide provides a general overview of the process. Remember to proceed with caution and consult a professional mechanic if you’re unsure about any step.