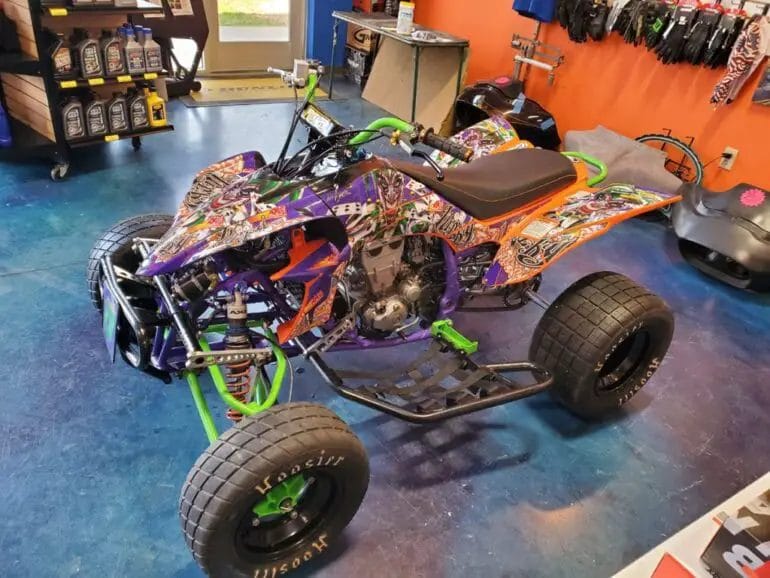
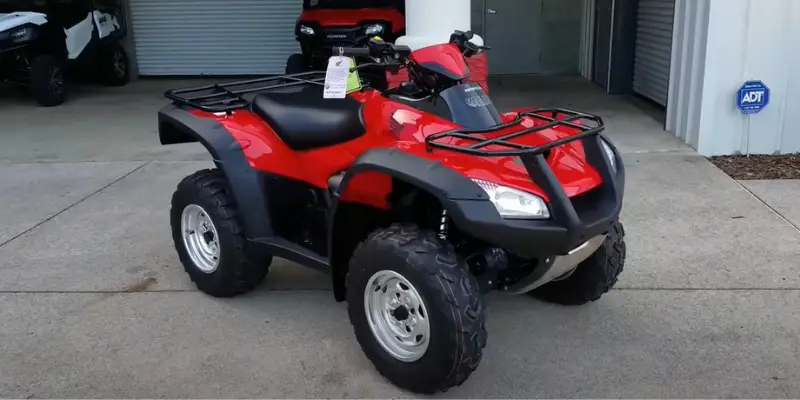
How to paint 4 wheeler plastics – How to paint 4-wheeler plastics? It’s a question many off-road enthusiasts ponder, seeking to personalize their rides and protect their investment. Whether you’re aiming for a fresh, factory-like finish or a bold, custom design, a well-executed paint job can transform your 4-wheeler’s appearance and longevity. This guide will walk you through every step, from prepping the plastics to applying the final coat, ensuring you achieve a professional-looking result.
Painting 4-wheeler plastics is a rewarding project that allows you to express your creativity and enhance your off-road experience. By following the right steps and using the appropriate materials, you can achieve a durable and eye-catching finish that will make your 4-wheeler stand out from the crowd.
Preparing for the Paint Job

A proper paint job on your 4-wheeler’s plastics starts with thorough preparation. This step ensures the paint adheres well and lasts longer. Cleaning and prepping the plastics correctly is essential to achieving a professional-looking finish.
Cleaning the Plastics
Before applying any paint, you must ensure the plastics are clean and free of dirt, grease, and contaminants. These substances can prevent the paint from adhering properly, leading to peeling or chipping. Here’s how to thoroughly clean your 4-wheeler’s plastics:
- Use a degreaser: Start by spraying the plastics with a degreaser, like Simple Green or Krud Kutter. These products effectively remove dirt, grime, and oil residue.
- Scrub with a brush: Use a stiff-bristled brush to scrub the plastics thoroughly, focusing on areas where dirt and grime tend to accumulate.
- Rinse with water: After scrubbing, rinse the plastics with clean water to remove any remaining degreaser and debris.
- Dry thoroughly: Dry the plastics completely using a clean cloth or air dry them. Ensure all moisture is gone before proceeding to the next step.
Sanding the Plastics
Sanding the plastics creates a smooth surface for the paint to adhere to. It also helps to remove any scratches or imperfections that might show through the paint. Here’s how to sand your 4-wheeler’s plastics:
- Start with coarse sandpaper: Begin with a coarse-grit sandpaper, such as 80-grit, to remove any deep scratches or imperfections.
- Progress to finer grits: Gradually move to finer grits, such as 120-grit and 220-grit, to smooth out the surface and create a consistent texture.
- Use a sanding block: Use a sanding block to ensure even sanding and avoid creating uneven surfaces.
- Sand in one direction: Sand in one direction to avoid creating swirl marks that can be visible under the paint.
Masking Off Areas
Masking off areas you don’t want to paint is crucial to achieving a clean and professional finish. It prevents paint from getting onto areas you want to keep their original color or finish. Here’s how to mask off areas:
- Use masking tape: Use high-quality masking tape designed for automotive applications.
- Apply tape carefully: Apply the tape firmly to the surface, ensuring it adheres well and doesn’t leave gaps.
- Use masking paper: For larger areas, use masking paper to protect the surrounding areas from overspray.
- Use painter’s tape for delicate areas: For delicate areas, use painter’s tape, which is less likely to damage the underlying surface.
Choosing the Right Paint: How To Paint 4 Wheeler Plastics

Choosing the right paint is crucial for a successful and durable 4-wheeler plastics paint job. The type of paint you select will significantly impact the final look, durability, and longevity of your paint job.
Types of Paint for 4-Wheeler Plastics
The right paint for your 4-wheeler plastics will depend on your specific needs and desired outcome. Here are some popular options:
- Acrylic Enamel: This is a popular choice for 4-wheeler plastics due to its durability, ease of application, and affordability. Acrylic enamel paints offer good resistance to UV rays, chemicals, and scratches, making them suitable for outdoor use. However, they may not be as durable as other options, such as urethane paints.
- Urethane Paint: Urethane paints are known for their exceptional durability, scratch resistance, and resistance to fading. They offer superior protection against UV rays, chemicals, and weathering. Urethane paints are often used in automotive applications and provide a high-gloss finish. However, they can be more expensive than acrylic enamel paints and may require specialized equipment for application.
- Epoxy Paint: Epoxy paints are highly durable and resistant to chemicals and abrasion. They are often used for industrial applications and can provide a very hard and smooth finish. However, epoxy paints can be difficult to apply and may require special preparation techniques.
The Importance of Primer
Using a primer specifically designed for plastics is essential before applying paint. Plastic surfaces are often non-porous and can make it difficult for paint to adhere properly. A plastic primer creates a bond between the plastic surface and the paint, ensuring a smooth and durable finish.
Choosing the Right Color and Finish, How to paint 4 wheeler plastics
When choosing a color, consider the overall design of your 4-wheeler and your personal preferences. Popular choices include vibrant colors like red, blue, and yellow, as well as more subtle tones like black, white, and gray.
- Gloss Finish: A gloss finish provides a shiny and reflective surface, enhancing the appearance of your 4-wheeler. It’s a popular choice for show vehicles and those seeking a high-end look.
- Matte Finish: A matte finish provides a flat and non-reflective surface, giving your 4-wheeler a more subdued and understated appearance. Matte finishes are often preferred for off-road vehicles as they can help to conceal scratches and imperfections.
- Semi-Gloss Finish: A semi-gloss finish offers a balance between gloss and matte, providing a slightly shiny surface with less reflectivity than a gloss finish. It’s a good option for those who want a more durable finish without sacrificing too much shine.
Paint Additives
Paint additives can enhance the performance and durability of your paint job. Some common additives include:
- UV Protection: UV protection additives help to prevent fading and discoloration caused by sunlight. This is especially important for outdoor vehicles like 4-wheelers.
- Hardener: Hardener additives increase the hardness and durability of the paint, making it more resistant to scratches and abrasion.
- Flow Agent: Flow agents help to improve the smoothness and evenness of the paint finish, reducing brush strokes and imperfections.
Application Techniques
Applying paint to your 4-wheeler plastics requires a combination of technique and careful preparation. Choosing the right method depends on the size and complexity of the area you’re painting, as well as the desired finish. Here’s a breakdown of the most common techniques:
Brush Painting
Brush painting is a versatile technique that allows for precise application, especially in tight spaces or areas with intricate details. Using a high-quality brush with synthetic bristles is essential for achieving a smooth finish.
- Dip the brush into the paint, ensuring that the bristles are coated but not overloaded.
- Apply thin, even coats, working in a smooth, consistent motion. Avoid over-applying paint, as this can lead to drips and uneven coverage.
- Allow each coat to dry completely before applying the next. This ensures that the paint adheres properly and prevents cracking or peeling.
- For best results, use multiple thin coats rather than one thick coat.
Roller Painting
Roller painting is ideal for larger, flat surfaces like the body panels of your 4-wheeler. It offers a faster application compared to brushes and can help achieve a smoother, more consistent finish.
- Choose a roller with a nap length appropriate for the surface you’re painting. A shorter nap is best for smooth surfaces, while a longer nap is better for textured surfaces.
- Load the roller with paint, ensuring it’s evenly distributed. Avoid overloading the roller, as this can lead to drips and uneven coverage.
- Apply thin, even coats, working in a smooth, consistent motion. Roll in a “W” pattern to ensure complete coverage.
- Allow each coat to dry completely before applying the next.
Spray Painting
Spray painting is the most efficient technique for achieving a professional-looking finish. It allows for even application and a smooth, consistent paint layer. However, it requires careful preparation and practice to master.
- Use a spray gun specifically designed for automotive paint. Ensure that the spray gun is properly adjusted for the type of paint you’re using.
- Apply thin, even coats, holding the spray gun at a consistent distance from the surface. Overlapping each coat slightly to ensure complete coverage.
- Allow each coat to dry completely before applying the next. This is crucial for achieving a smooth, even finish.
- Practice with a test panel to familiarize yourself with the spray gun and the proper technique.
Finishing Touches

After applying the paint, it’s time to protect your hard work and ensure your 4-wheeler plastics look their best for years to come. This involves applying a clear coat or sealant, allowing proper curing time, and taking care of the newly painted surfaces.
Protecting the Paint Job
A clear coat or sealant is crucial for protecting your paint job from scratches, UV damage, and other elements. It creates a protective barrier that enhances the paint’s durability and gloss.
- Clear Coat: A clear coat is a type of paint that’s applied over the base coat to provide a protective layer. It’s available in various finishes, such as gloss, semi-gloss, and matte, depending on your desired look.
- Sealant: A sealant is a liquid product that’s applied to the paint surface to create a protective barrier. Sealants are typically more durable than clear coats and can offer protection against UV rays, water, and other elements.
Applying a clear coat or sealant requires careful preparation. Ensure the paint is completely dry and free of dust or debris. Use a clean, lint-free cloth to apply the product evenly and avoid streaks. Allow the clear coat or sealant to cure fully before handling the plastics.
Curing Time and Proper Care
Curing time is essential for the paint to harden and reach its full durability. It’s recommended to allow the paint to cure for at least 24 hours before handling the plastics.
- Avoid Handling: Resist the urge to touch or move the painted plastics during the curing time. This can cause scratches or marring of the fresh paint.
- Protect from Dust and Debris: Keep the painted plastics covered or in a dust-free environment during the curing process.
Once the paint has cured, it’s crucial to take proper care of the plastics to maintain their appearance. Wash the plastics regularly with mild soap and water, and avoid using harsh chemicals or abrasive cleaners.
Maintaining the Paint Job
Regular maintenance is key to keeping your 4-wheeler plastics looking their best. Here are some tips for maintaining the paint job:
- Wash Regularly: Wash the plastics with mild soap and water after each ride to remove dirt, mud, and debris.
- Avoid Harsh Chemicals: Avoid using harsh chemicals or abrasive cleaners on the painted plastics, as they can damage the paint.
- Wax Periodically: Apply a car wax to the painted plastics every few months to protect them from UV damage and enhance their shine.
Following these tips will help keep your paint job looking fresh and vibrant for years to come.
Customizing the Paint Job
Once the paint job is complete, you can personalize it with decals, graphics, or other embellishments.
- Decals: Decals are vinyl stickers that can be applied to the painted plastics to create custom designs.
- Graphics: Graphics are more intricate designs that can be applied to the plastics using a variety of methods, such as airbrushing or vinyl wrapping.
Adding decals or graphics can add a personal touch to your 4-wheeler and make it stand out from the crowd.
With a little patience and the right tools, painting your 4-wheeler plastics can be a fun and rewarding experience. From prepping the surfaces to applying the final coat, each step contributes to a professional-looking finish. Remember, a well-prepared surface and proper paint application are crucial for a durable and long-lasting paint job. So, grab your supplies, follow these steps, and let your creativity shine as you transform your 4-wheeler into a unique and personalized ride.
Questions and Answers
What kind of paint is best for 4-wheeler plastics?
Acrylic enamel paint is generally recommended for 4-wheeler plastics due to its durability and resistance to fading. However, consider using a paint specifically designed for plastics for optimal adhesion.
How long does it take for 4-wheeler plastic paint to dry?
Drying time varies depending on the type of paint and environmental conditions. Check the manufacturer’s instructions for specific drying times, but expect a few hours for each coat to dry before applying the next.
Can I use regular car paint on 4-wheeler plastics?
While you can use car paint, it might not adhere as well to plastics. Consider using a paint specifically formulated for plastics or a primer designed for plastics before applying car paint.