How to set a stone in a ring sets the stage for this enthralling narrative, offering readers a glimpse into a story that is rich in detail and brimming with originality from the outset. Whether you’re a seasoned jeweler or a curious novice, the process of setting a stone in a ring is a fascinating one, demanding both precision and artistry.
This guide will delve into the intricate world of gemstone setting, taking you through each step from selecting the perfect stone to securing it in its final resting place.
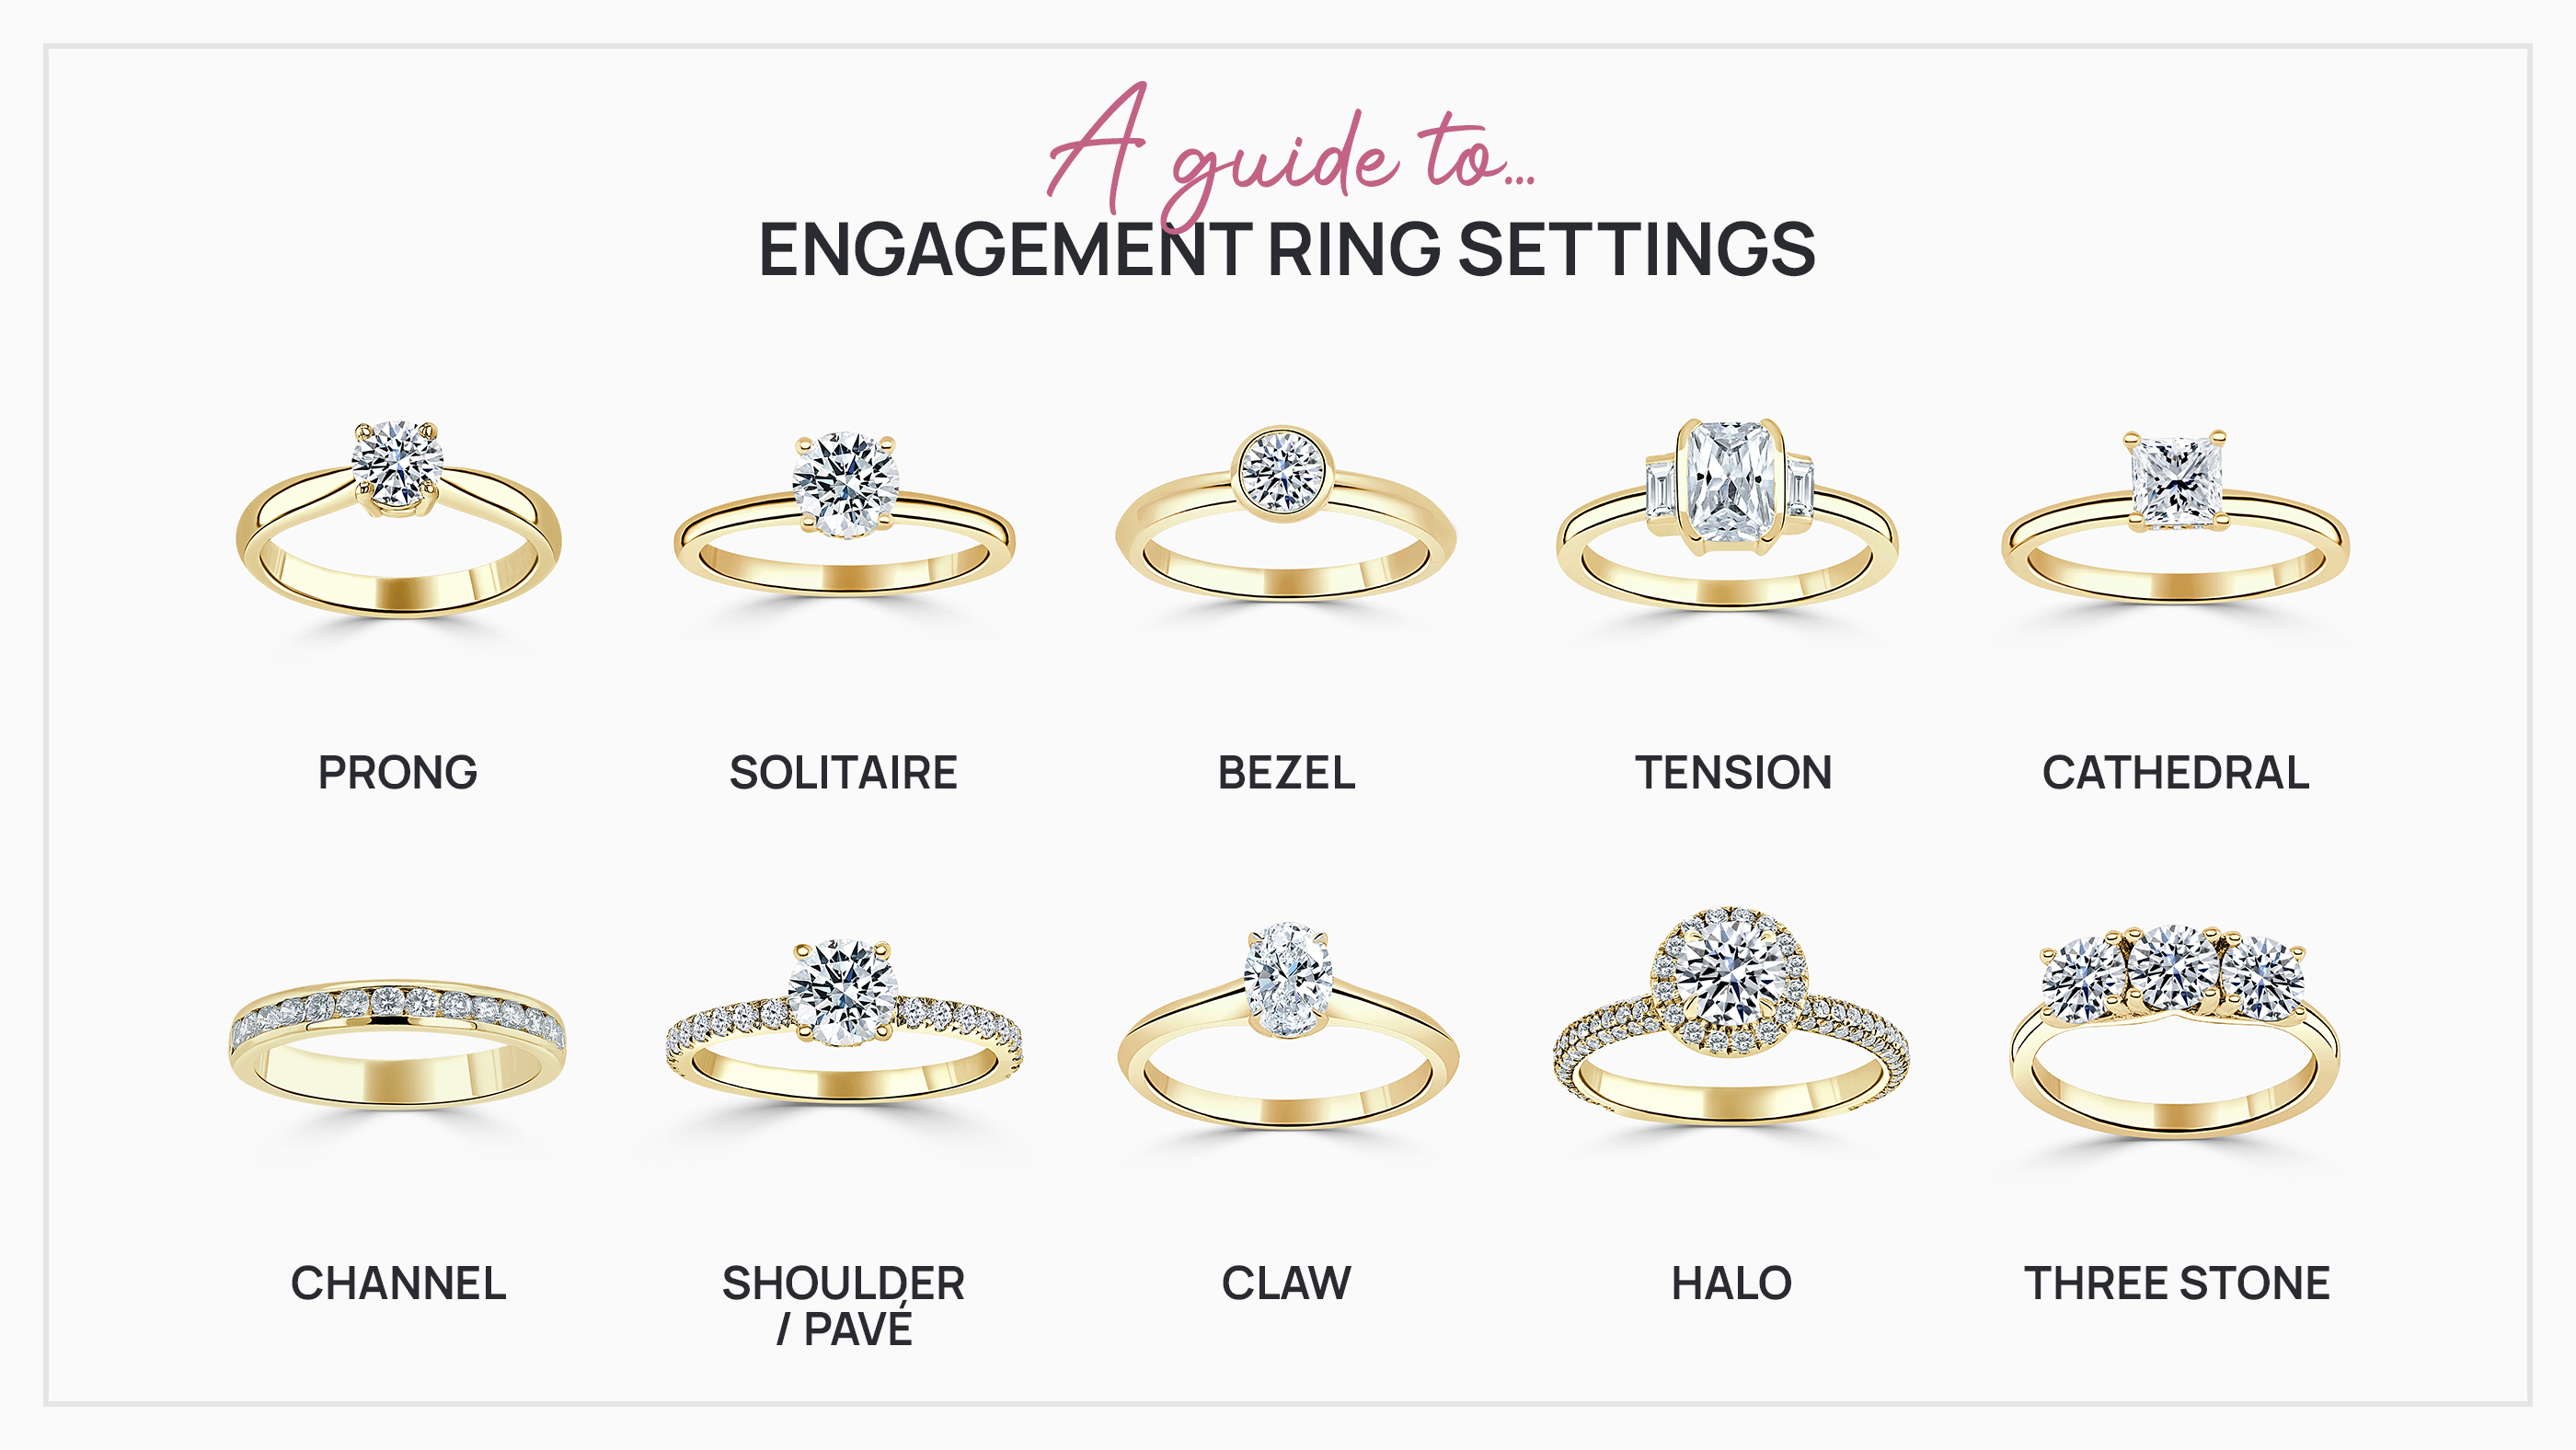
The journey begins with choosing the right stone, a decision that will determine the ring’s character and brilliance. Factors like size, shape, color, clarity, and durability come into play, and understanding gemstone grading systems is crucial for making an informed choice. Next, you’ll select the ring setting, which will not only influence the gemstone’s appearance but also its security. Prong, bezel, channel, and pave settings are just a few of the styles available, each offering its own unique advantages and disadvantages.
Once the stone and setting are chosen, the meticulous process of preparing them for union begins. This involves cleaning and polishing the stone, and crafting the prongs or bezel of the setting with precision and care. The final stage, setting the stone, involves using a combination of skill and specialized tools to secure the gemstone in its new home. Finally, the ring undergoes finishing touches, including polishing, cleaning, and a thorough inspection to ensure the stone is securely set and the ring is flawlessly finished.
Choosing the Right Stone

Selecting the perfect gemstone for your ring is an exciting yet crucial step. You’ll want to choose a stone that complements your style, fits your budget, and endures the test of time. Several factors come into play when making this decision, and understanding them will help you make an informed choice.
Gemstone Types
The world of gemstones is vast and diverse, offering a wide array of colors, shapes, and properties. While diamonds are the most popular choice for engagement rings, other gemstones are equally beautiful and meaningful. Here are some common gemstones used in rings:
- Diamonds: Renowned for their brilliance, durability, and rarity, diamonds are the classic choice for engagement rings. Their chemical composition (pure carbon) makes them incredibly hard and resistant to scratches. Diamonds are graded based on the 4Cs: cut, color, clarity, and carat weight, with each factor influencing the stone’s value.
- Sapphires: Sapphires are corundum gemstones, known for their vibrant blue hues. However, sapphires come in a range of colors, including pink, yellow, and even green. They are highly durable, ranking 9 on the Mohs Hardness Scale, making them suitable for everyday wear.
- Rubies: Rubies, also corundum gemstones, are prized for their intense red color. They are known for their durability, ranking 9 on the Mohs Hardness Scale, making them suitable for everyday wear.
- Emeralds: Emeralds are beryl gemstones, known for their rich green color. They are known for their beauty and rarity, but are also more fragile than diamonds, sapphires, and rubies, ranking 7.5-8 on the Mohs Hardness Scale.
- Other Gemstones: Beyond these popular choices, many other gemstones are used in rings. Topaz, amethyst, garnet, and aquamarine are just a few examples. Each gemstone has its unique properties, colors, and price range, allowing you to find a stone that reflects your individual taste and budget.
Gemstone Grading Systems
Understanding gemstone grading systems is essential for evaluating a stone’s quality and value. Each system assesses different aspects of the gemstone, including:
- Cut: This refers to the way the gemstone is shaped and polished. A well-cut gemstone will maximize brilliance and sparkle. For diamonds, the American Gem Society (AGS) and the Gemological Institute of America (GIA) have established grading systems that evaluate the cut based on proportions, symmetry, and polish.
- Color: Gemstones are graded based on their color intensity, saturation, and hue. For diamonds, the GIA uses a letter grading system from D (colorless) to Z (light yellow), with D being the most valuable. For colored gemstones, the color grading system varies depending on the specific gemstone and its desired hue.
- Clarity: This refers to the presence of inclusions, or internal imperfections, within the gemstone. The GIA uses a letter grading system from FL (flawless) to I3 (inclusions visible to the naked eye), with FL being the most valuable. For colored gemstones, clarity grading is less crucial than for diamonds, as inclusions can sometimes enhance the stone’s beauty.
- Carat Weight: This refers to the gemstone’s weight, measured in carats. One carat equals 200 milligrams. Larger gemstones generally command higher prices, but the value is also influenced by the other grading factors.
Selecting the Ring Setting
The setting of a ring is just as important as the stone itself. It determines how the stone is secured, its overall appearance, and its durability. There are many different types of ring settings, each with its own unique advantages and disadvantages. Choosing the right setting for your stone is a crucial step in creating a beautiful and lasting piece of jewelry.
Prong Settings, How to set a stone in a ring
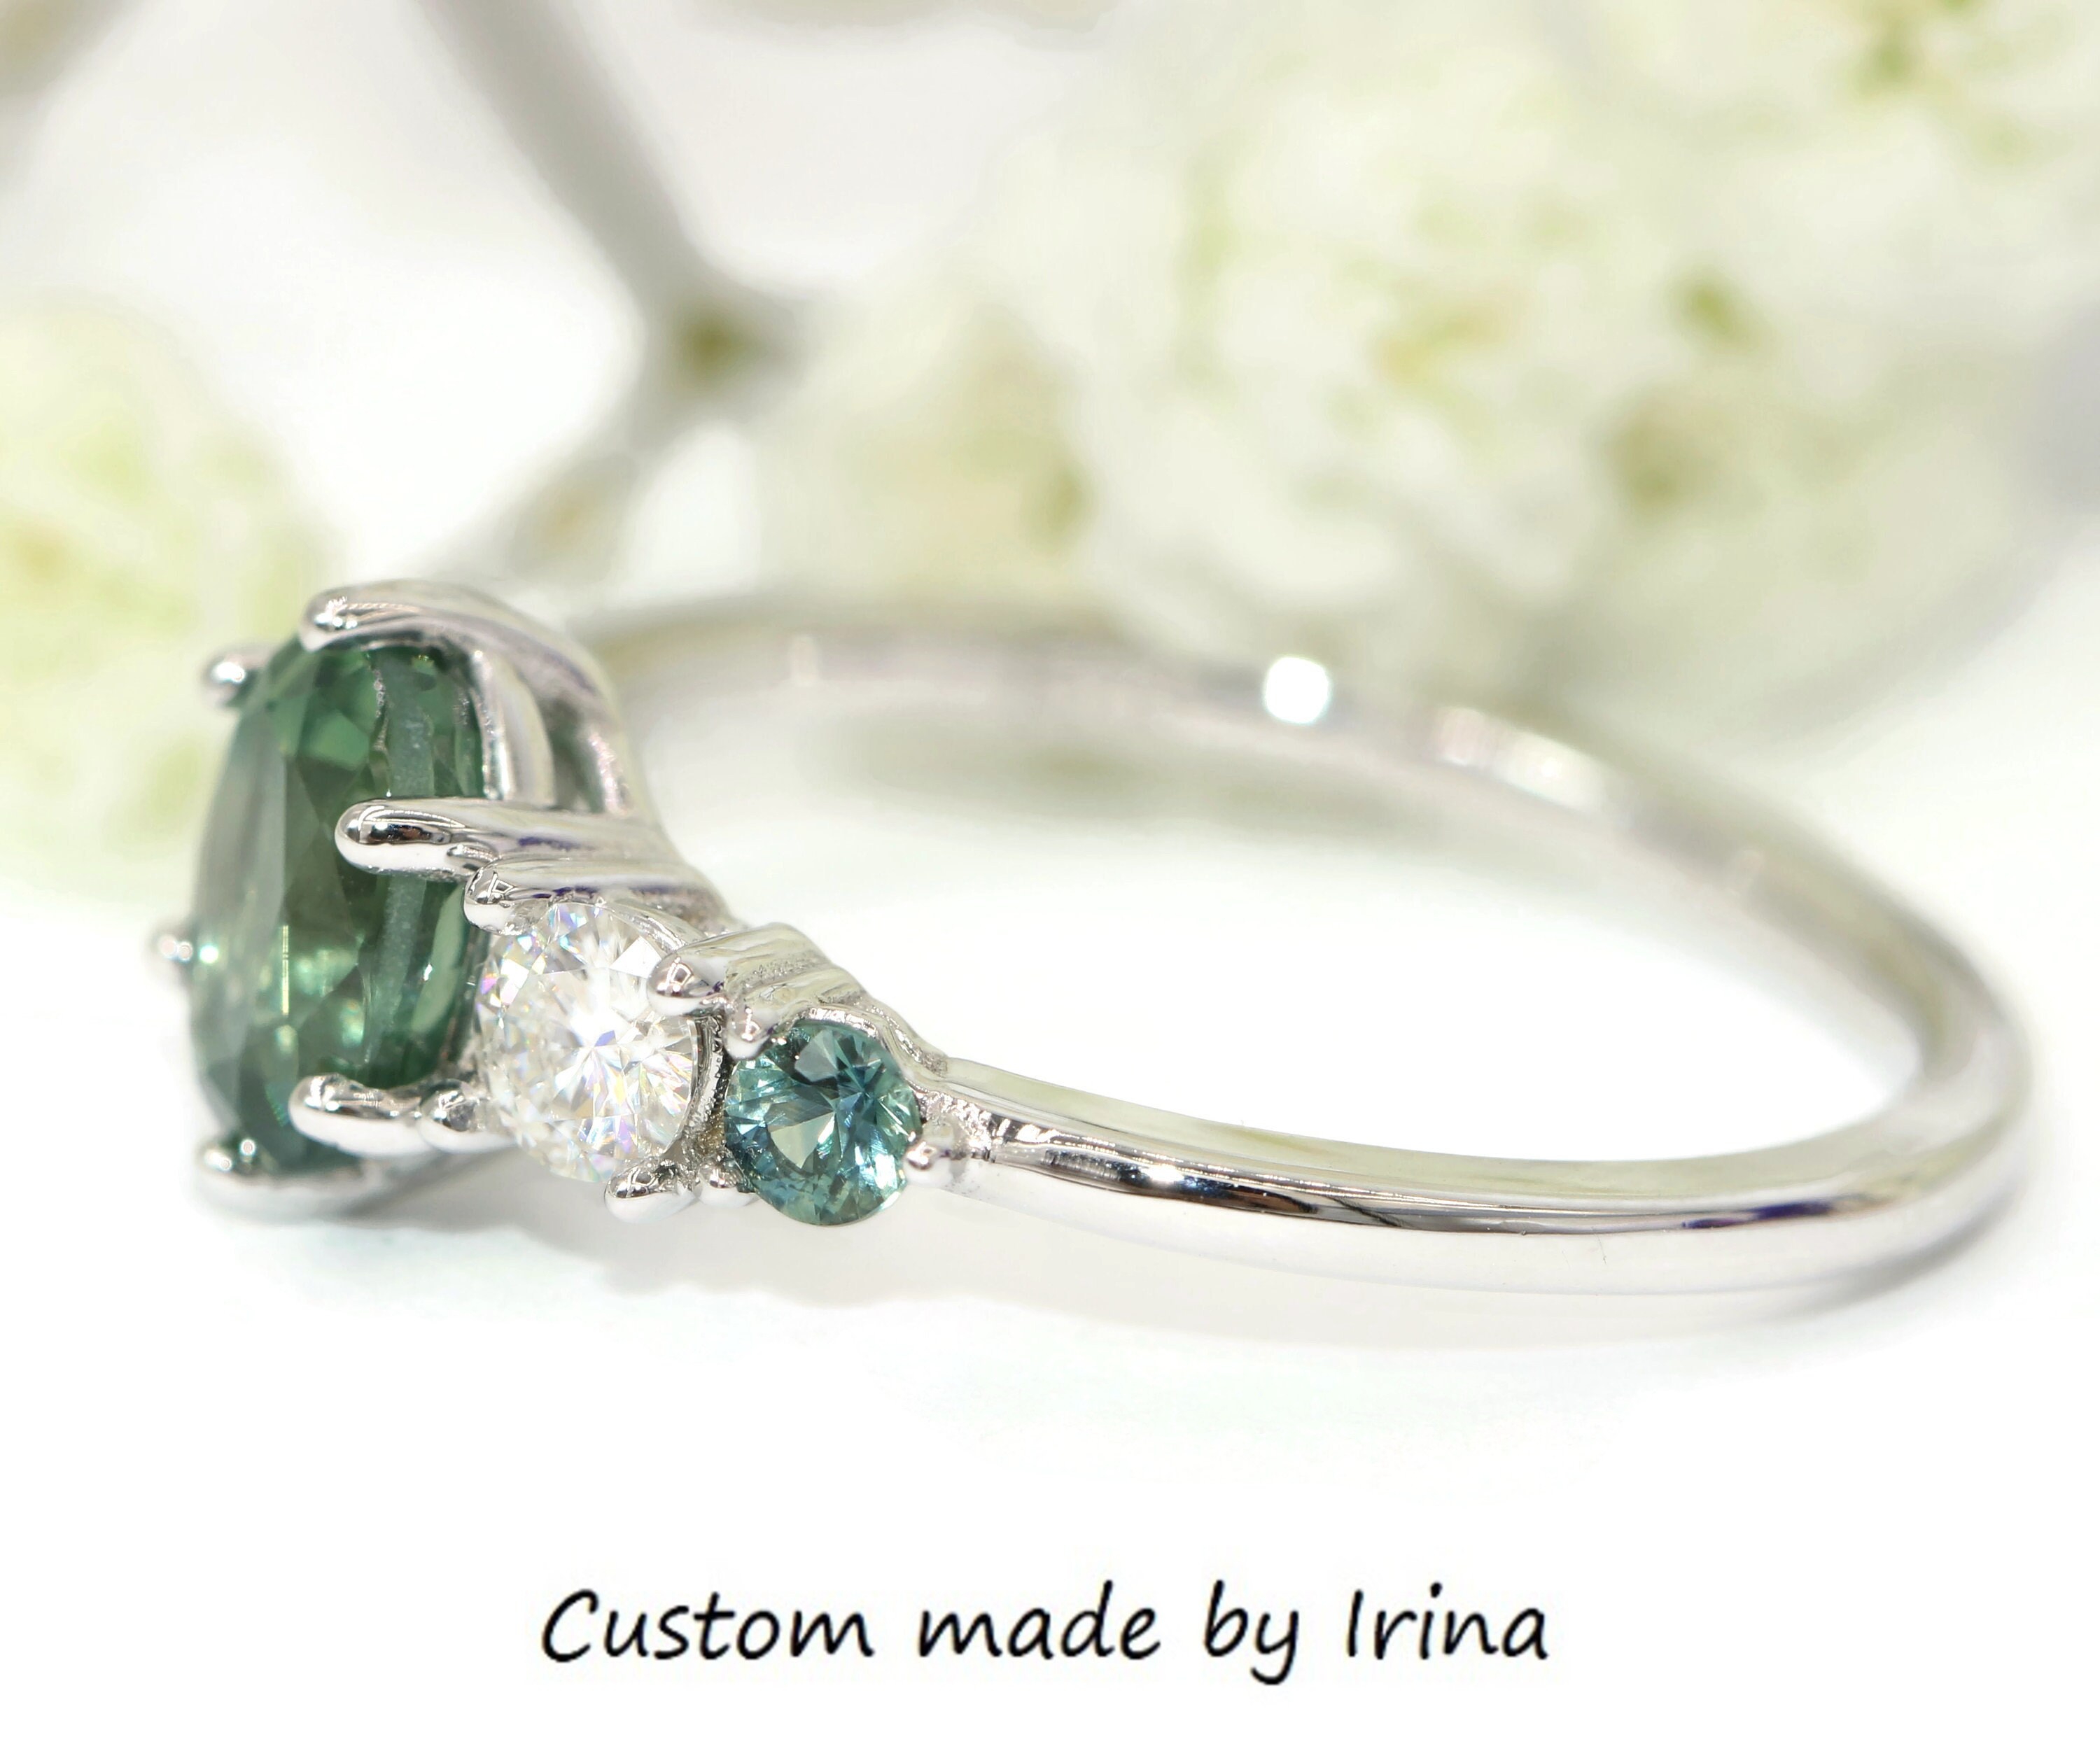
Prong settings are the most popular and recognizable type of setting. They use small metal prongs that grip the stone from the side, elevating it above the band. Prong settings offer several advantages:
- They allow the stone to be the center of attention, as it is exposed from all angles.
- They provide excellent light performance, maximizing the stone’s brilliance.
- They are relatively easy to clean and maintain.
However, prong settings also have some drawbacks:
- They can be more prone to damage, as the prongs are delicate and can be bent or broken.
- They may not be suitable for all stone shapes, as some stones may be too fragile to be held by prongs.
- They can catch on clothing or other objects, potentially leading to scratches or damage.
Bezel Settings
Bezel settings are known for their secure and protective nature. The stone is surrounded by a metal rim, or bezel, that holds it in place.Bezel settings offer the following advantages:
- They provide excellent protection for the stone, making them a good choice for active individuals or those who want a durable setting.
- They can be used with a variety of stone shapes, including those that are delicate or have sharp corners.
- They are less prone to snagging or catching on clothing.
However, bezel settings also have some drawbacks:
- They can obscure the stone’s brilliance, as the metal bezel covers part of the stone’s surface.
- They can make the stone appear smaller than it actually is.
- They can be more difficult to clean than other settings.
Channel Settings
Channel settings are used for rings with multiple stones, usually set in a row. The stones are held in place by a channel, which is a narrow groove in the band.Channel settings offer several advantages:
- They create a continuous line of sparkle, which can be very elegant and eye-catching.
- They are relatively secure, as the stones are held in place by the channel.
- They are a good choice for those who want a ring with a lot of sparkle but don’t want the stones to be too prominent.
However, channel settings also have some drawbacks:
- They can be more difficult to clean, as the stones are set in a groove.
- They may not be suitable for all stone shapes, as the stones need to be relatively small and flat.
- They can be more prone to damage, as the stones are close together and can scratch each other.
Pave Settings
Pave settings are similar to channel settings, but the stones are set closer together, creating a more continuous sparkle.Pave settings offer several advantages:
- They create a dazzling effect, with a lot of sparkle and brilliance.
- They are relatively secure, as the stones are held in place by the metal surrounding them.
- They are a good choice for those who want a ring that is both elegant and eye-catching.
However, pave settings also have some drawbacks:
- They can be more expensive than other settings, as they require more stones and more intricate craftsmanship.
- They can be more difficult to clean, as the stones are set very close together.
- They can be more prone to damage, as the stones are close together and can scratch each other.
Preparing the Stone and Setting
Once you’ve chosen your stone and ring setting, it’s time to prepare them for the delicate process of setting. This involves cleaning and polishing the stone to ensure a secure and beautiful setting, and preparing the ring setting to receive the stone.
Preparing the Stone
Before setting the stone, it’s crucial to ensure it’s clean and free of any debris that could interfere with the setting process. This also helps to enhance the stone’s brilliance and clarity.
- Cleaning: Begin by gently cleaning the stone with a soft brush and a solution of warm water and mild dish soap. Avoid harsh chemicals or abrasive cleaners that could damage the stone.
- Polishing: If necessary, you can polish the stone to remove any scratches or imperfections. This can be done using a polishing cloth and a polishing compound specifically designed for gemstones.
Preparing the Ring Setting
The ring setting needs to be prepared to accommodate the stone securely. This involves creating prongs, bezels, or other features that will hold the stone in place.
- Creating Prongs: Prong settings involve creating delicate metal prongs that extend from the ring’s band and hold the stone securely. Prongs can be shaped and sized according to the stone’s dimensions and the desired look.
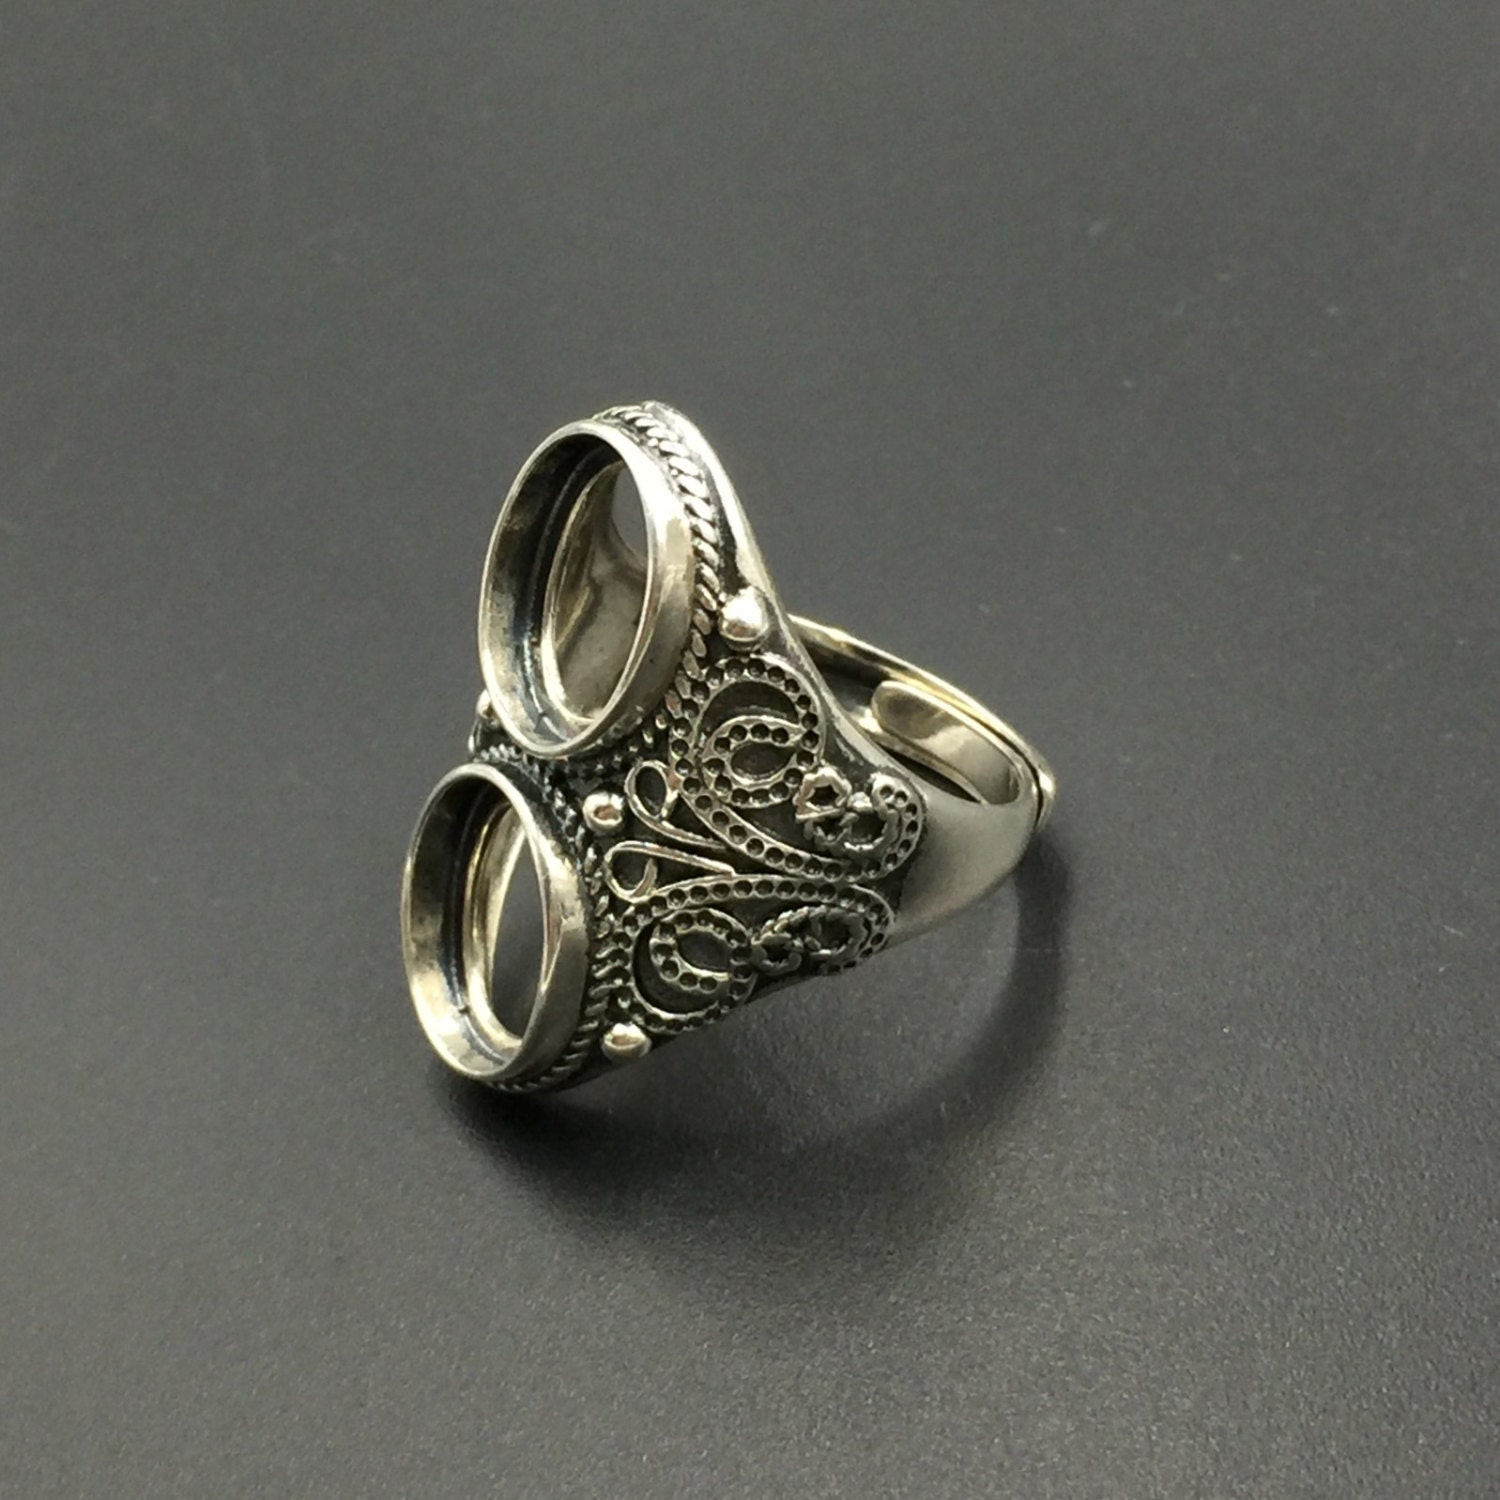
- Creating Bezels: Bezel settings use a metal band that surrounds the stone, providing a secure and protective setting. The bezel can be smooth or textured, and it can be designed to accentuate the stone’s shape and brilliance.
Using Appropriate Tools and Techniques
Precision and safety are paramount when preparing the stone and setting. Using the right tools and techniques is essential for a successful and secure setting.
- Tools: Tools such as tweezers, pliers, and a setting hammer are essential for manipulating the metal and stone with accuracy.
- Techniques: Using appropriate techniques, such as bending, shaping, and hammering, ensures that the stone is securely held within the setting.
Setting the Stone: How To Set A Stone In A Ring

Now that you have chosen your stone and setting, it’s time to set the stone. This process involves securing the stone within the ring setting using various methods and tools.
Hand Setting
Hand setting is a traditional method that requires precision and skill. It involves using specialized tools to carefully place and secure the stone within the setting. The process typically involves the following steps:
- Preparing the Setting: The setting is cleaned and inspected for any imperfections or burrs. The prongs or bezel are carefully shaped and polished to ensure a secure fit for the stone.
- Placing the Stone: The stone is carefully placed within the setting, ensuring it sits flush and level. A setting tool is used to gently push the prongs or bezel around the stone.
- Securing the Stone: A setting tool is used to apply pressure to the prongs or bezel, gradually tightening them around the stone. The tool’s shape and size are critical for applying the correct amount of pressure.
- Final Inspection: Once the stone is secure, the setting is inspected for any gaps or loose prongs. Any imperfections are corrected before the setting is polished.
Machine Setting
Machine setting utilizes specialized equipment to set the stone. This method offers speed and efficiency, but requires specialized tools and training. The process involves the following steps:
- Preparing the Setting: The setting is prepared in a similar manner to hand setting, ensuring a smooth and clean surface.
- Placing the Stone: The stone is carefully placed within the setting. The machine utilizes a specific tool that securely holds the stone in place.
- Securing the Stone: The machine’s mechanism applies precise pressure to the prongs or bezel, securing the stone in place. The pressure is carefully controlled to prevent damage to the stone.
- Final Inspection: The setting is inspected for any loose prongs or imperfections. The stone’s position and security are checked before the setting is polished.
Finishing Touches

After successfully setting the stone, the final steps involve ensuring the ring is complete and ready to be worn. These steps are crucial for the longevity of the ring and the security of the gemstone.
Polishing and Cleaning
Polishing and cleaning are essential to remove any imperfections and residues left behind from the setting process.
- Polishing removes any scratches or blemishes on the metal, restoring its shine and luster.
- Cleaning removes any dirt, oil, or debris that may have accumulated during the setting process.
Polishing can be done using a polishing cloth or a buffing wheel, while cleaning can be done using a jewelry cleaning solution or warm soapy water.
Inspecting the Setting
A thorough inspection is crucial to ensure the stone is securely set and the ring is properly finished.
- Check for any loose prongs or other setting components that may cause the stone to fall out.
- Ensure the stone is properly centered and aligned in the setting.
- Inspect the ring for any sharp edges or burrs that could cause discomfort or damage to clothing.
Caring for the Ring
Proper care and maintenance are essential for preserving the beauty and longevity of the ring.
- Store the ring in a separate box or pouch to prevent scratches and damage from other jewelry.
- Avoid exposing the ring to harsh chemicals, such as bleach or cleaning agents.
- Clean the ring regularly using a jewelry cleaning solution or warm soapy water.
- Have the setting inspected by a professional jeweler every few years to ensure the stone is securely set.
Proper care and maintenance will help to keep the ring looking its best for years to come.
Setting a stone in a ring is a testament to the artistry and skill of the jeweler, a delicate dance between precision and creativity. From the initial selection of the stone to the final polish, each step is a journey into the heart of the ring’s creation. By understanding the process, you gain a deeper appreciation for the craftsmanship that goes into every piece of jewelry, and you’ll be equipped to make informed decisions about your own ring settings.
Whether you’re setting a stone for a cherished heirloom or a personalized gift, this guide will serve as your compass, guiding you through the captivating world of gemstone setting.
Clarifying Questions
What are the most common types of gemstones used in rings?
Diamonds, sapphires, rubies, emeralds, and other precious and semi-precious stones are commonly used in rings.
How do I choose the right ring size for setting a stone?
Use a ring sizer or measure the diameter of a ring that fits comfortably.
What tools do I need to set a stone in a ring?
You’ll need a setting tool, a hammer, a burnisher, and a loupe, among other specialized tools.
Is it safe to set a stone in a ring at home?
It’s best to leave stone setting to professionals, as it requires specialized skills and tools.
How do I care for a ring with a set stone?
Clean your ring regularly with a soft cloth and mild soap. Avoid harsh chemicals and extreme temperatures.