
How to ship a Peloton bike is a question many fitness enthusiasts ponder, especially when moving or wanting to gift this popular stationary bike. Shipping a Peloton bike is a process that requires careful planning and attention to detail, but it’s achievable with the right information. This guide will break down the process from understanding your shipping options and preparing for delivery to unboxing, assembly, and getting started with your Peloton classes.
From choosing the right shipping method and ensuring proper packaging to understanding the delivery timeline and setting up your bike, we’ll cover all the essential steps to make the process smooth and hassle-free. Whether you’re a seasoned Peloton rider or a curious newcomer, this comprehensive guide will equip you with the knowledge and confidence to navigate the intricacies of shipping your Peloton bike.
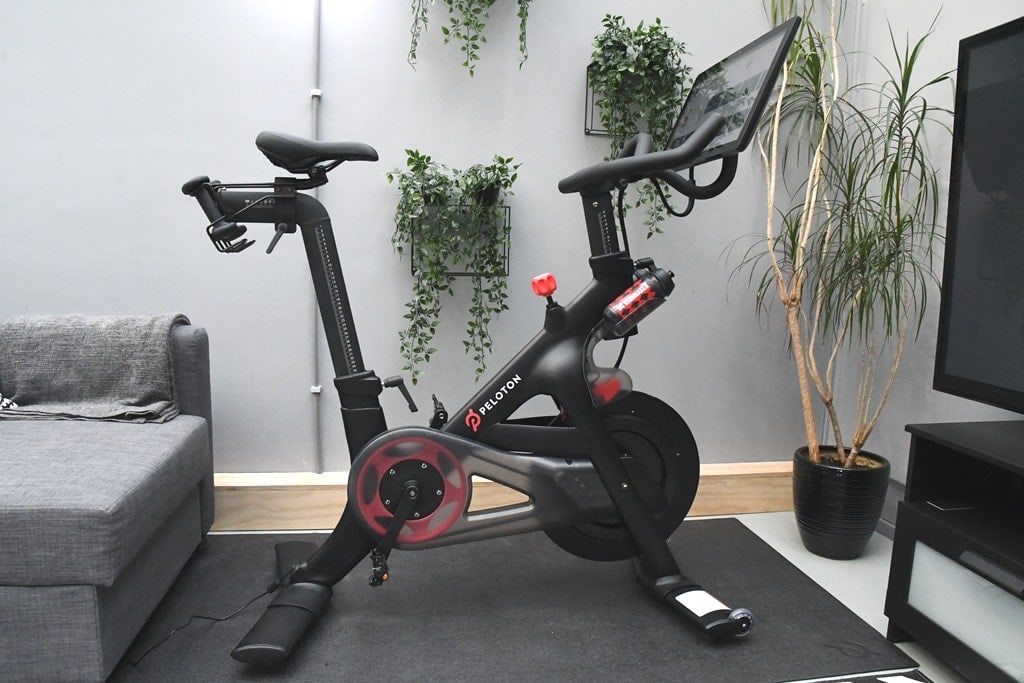
Setting Up Your Peloton Bike: How To Ship A Peloton Bike

Alright, you’ve got your Peloton bike, it’s all set up, and you’re ready to ride. But before you hop on and start crushing those classes, there’s a few things you need to do first. Think of it like getting your bike ready for the big race, but instead of checking your tyres, you’re making sure your Peloton is connected to the world and ready to stream those killer workouts.
Connecting to Wi-Fi and Setting Up Your Account
You’ll need to connect your Peloton bike to your home’s Wi-Fi network to access the full range of classes and features. This is pretty straightforward, but here’s a step-by-step guide to make sure you’re good to go:
- On the touchscreen, go to the “Settings” menu.
- Select “Wi-Fi” and then choose your home network from the list.
- Enter your Wi-Fi password and tap “Connect”.
Once your bike is connected, you’ll need to set up your user account. This is where you’ll create your profile, link your preferred payment method, and choose your workout preferences.
- On the touchscreen, tap “Create Account”.
- Follow the prompts to enter your personal information, including your name, email address, and birthday.
- You’ll also need to choose a username and set a password.
Once you’ve created your account, you’ll be able to access all of the Peloton’s features, including live and on-demand classes, workout tracking, and community features.
Customizing Your Bike Settings
The beauty of the Peloton is that you can adjust it to fit your individual needs. From the seat height to the resistance levels, you can fine-tune your bike to make sure you’re comfortable and getting the most out of your workouts.
Seat Height
The seat height is crucial for proper form and comfort. If the seat is too high, you’ll be straining your knees and hips. If it’s too low, you’ll be putting unnecessary stress on your back.
- To adjust the seat height, simply use the lever located beneath the seat.
- To find the ideal height, start with the seat at a level that allows your leg to be slightly bent when the pedal is at its lowest point.
- As you ride, you can adjust the seat up or down to find the perfect position.
Resistance Levels
The resistance levels on the Peloton bike control how difficult it is to pedal. Higher resistance levels provide a more challenging workout.
- The resistance levels are controlled by a knob located on the right side of the handlebars.
- You can adjust the resistance level at any time during your workout.
- Start with a low resistance level and gradually increase it as you get stronger.
Finding the Best Position on the Bike
Finding the right position on the Peloton bike is essential for comfort, performance, and injury prevention. Here’s how to make sure you’re set up for success:
- Core Engagement: Keep your core engaged throughout your ride to maintain good posture and prevent lower back pain. Imagine you’re trying to hold a coin between your lower back and the seat.
- Foot Position: Place your feet on the pedals with the balls of your feet directly over the axles. Your heels should be slightly lower than your toes.
- Hand Position: Keep your hands relaxed and comfortably positioned on the handlebars.
You shouldn’t be gripping the handlebars too tightly.
- Elbows: Keep your elbows slightly bent to prevent strain on your shoulders.
- Head and Neck: Keep your head and neck in a neutral position. Avoid looking down at your feet or up at the screen.
Getting Started with Peloton Classes
Right, so you’ve got your Peloton bike all set up and you’re ready to get going. Now, it’s time to dive into the classes! Peloton offers a huge variety of workouts, so you’ll definitely find something that suits your vibe.
Types of Peloton Classes, How to ship a peloton bike
Peloton classes are categorised into different types, with each one catering to a specific fitness goal or style. You’ve got live classes, which are happening in real-time, and on-demand classes, which you can take whenever you fancy.
- Cycling: This is the classic Peloton experience, with classes ranging from beginner-friendly to super intense. You’ll find everything from 30-minute rides to longer endurance sessions, and even classes focused on specific techniques like hill climbs or sprints.
- Strength: Get ready to lift weights with these classes, which use dumbbells, resistance bands, and even your own body weight. You’ll find full-body workouts, targeted muscle groups, and even classes specifically for yoga and stretching.
- Yoga: Find your inner zen with a variety of yoga classes, from beginner flows to more challenging vinyasa practices. There are also classes focused on specific areas like back pain or flexibility.
- Running: Peloton offers a selection of running classes that you can take on a treadmill or outdoors. These classes include intervals, endurance runs, and even guided meditations for runners.
- Other: There are even more classes to explore, including meditation, stretching, bootcamps, and even outdoor walks. You can even find classes led by different instructors, each with their own unique style and energy.
Shipping a Peloton bike may seem daunting at first, but with a little planning and preparation, it can be a straightforward process. By following the steps Artikeld in this guide, you can ensure a safe and efficient delivery of your bike, ready to power your fitness journey. Remember to choose the right shipping option, prepare your space, and carefully follow the assembly instructions.
Soon you’ll be enjoying the thrill of Peloton classes in your own home.
Quick FAQs
How much does it cost to ship a Peloton bike?
The cost of shipping a Peloton bike varies depending on factors like your location, the delivery speed you choose, and the specific bike model. It’s best to get a quote from Peloton or a shipping company directly.
Can I ship a Peloton bike myself?
While technically possible, it’s generally not recommended to ship a Peloton bike yourself. The bike is heavy and bulky, and you risk damage during transport. It’s safer and more convenient to use a professional shipping service.
What if my Peloton bike is damaged during shipping?
If your Peloton bike is damaged during shipping, you should contact the shipping company and file a claim. Peloton also has a warranty that may cover damage during transport.
What if I need to cancel my Peloton bike order after it has been shipped?
You can typically cancel your Peloton bike order before it ships. Once the bike has been shipped, you may be subject to cancellation fees and return shipping costs. Contact Peloton customer service for more information.


